Yeah, that title is a mouthful! And for something with such a long name, it sure is a tiny little kit. Several weeks ago, Doug Hendricks from QRPGuys handed me a prototype kit to try. It’s now available for sale on their site. The QRPGuys Mini 80m-10m No-Tune End Fed Half Wave Antenna.
QRPGuys is an amazing kit provider. I’ve mentioned this before, but I believe they’re honestly trying to provide a service to radio amateurs by creating affordable kits for HF QRP operation. They aren’t reinventing the wheel—most of what they sell are known designs turned into easy kit builds—this kit is a fine example of just that. Once in a while, Doug, KI6DS of QRPGuys will give me a kit to test in the field. Other times, I buy their kits because I love their products. Doug gave me this is the mini version of QRPGuys’ EFHW No-Tune transformer design. Depending on your needs, this mini version might be a better fit.
This kit breaks from QRPGuys’ usual enclosure-free designs. So if you’re used to those, you’re getting something quite different. This might be a pretty big advantage with respect to durability. Other than that, it’s a pretty well-known design of a 64:1 EFHW transformer, with a capacitor parallel to the transformer on the transceiver side to help broaden the bandwidth. You’ll find this design all over the place. One of the first places I heard about it was here. QRPGuys makes it so you don’t have to scrounge up parts. Just order the kit, built it, get the appropriate length of wire, tune it up and you’re on the air!
Build
It took me several weeks to get around to building this. Work, travel, and just life got in the way. But once I finally built it, it was a simple kit to build.
Since it was one of the prototype kits, it was missing the capacitor. Since I’d built the higher-power version of this previously, I actually had some capacitors on-hand that would work. They’re rated for over 3000 volts, so I think they’ll work for this little QRP kit.
I don’t have detailed photos for the build, but it was a very straightforward one. It took me maybe 30 minutes, total, to put it together.
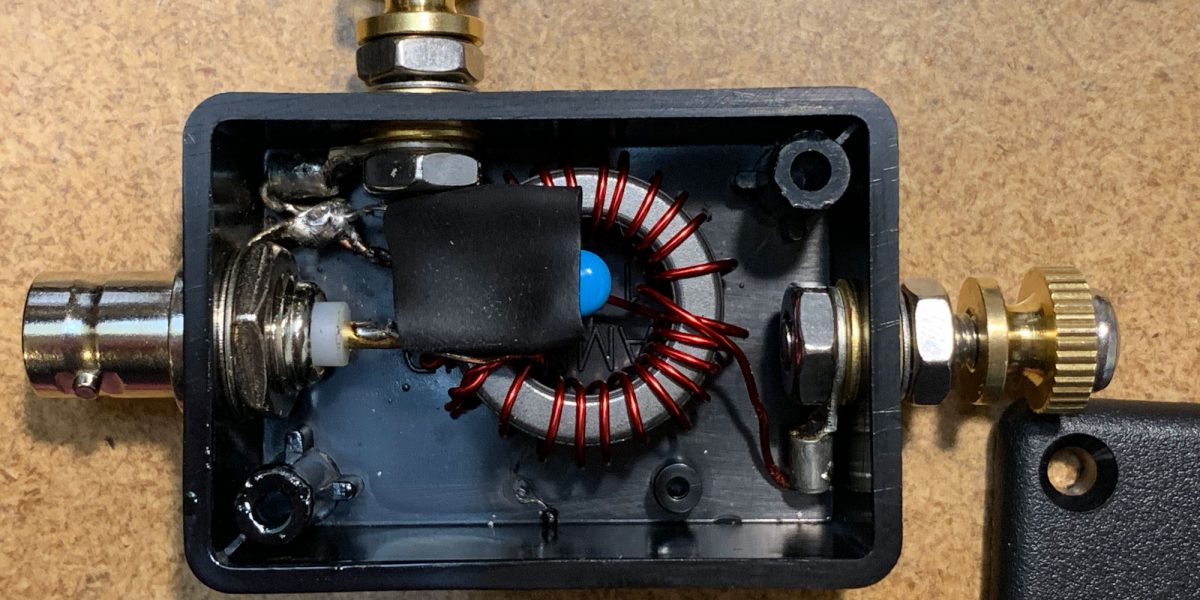
All of the parts are very high-quality. I was especially impressed with the Hammond case and knurled brass nuts.
Preparing the wire
I decided to make this an 80-meter antenna, with the hope it would work on other bands. Using the guide in the provided instructions, it said I’d need 125 feet of wire for 3.55MHz (the middle of the CW part of that band). I checked this against the good old “468/f” formula and got a longer (~131ft) number. So I cut about 135ft of my SOTABeams wire, planning on trimming it down. I don’t have enough room on my suburban plot to string up that amount of wire easily, so I decided I’d go to a park or summit to do the tuning. This led me to the idea of doing a SOTA activation.
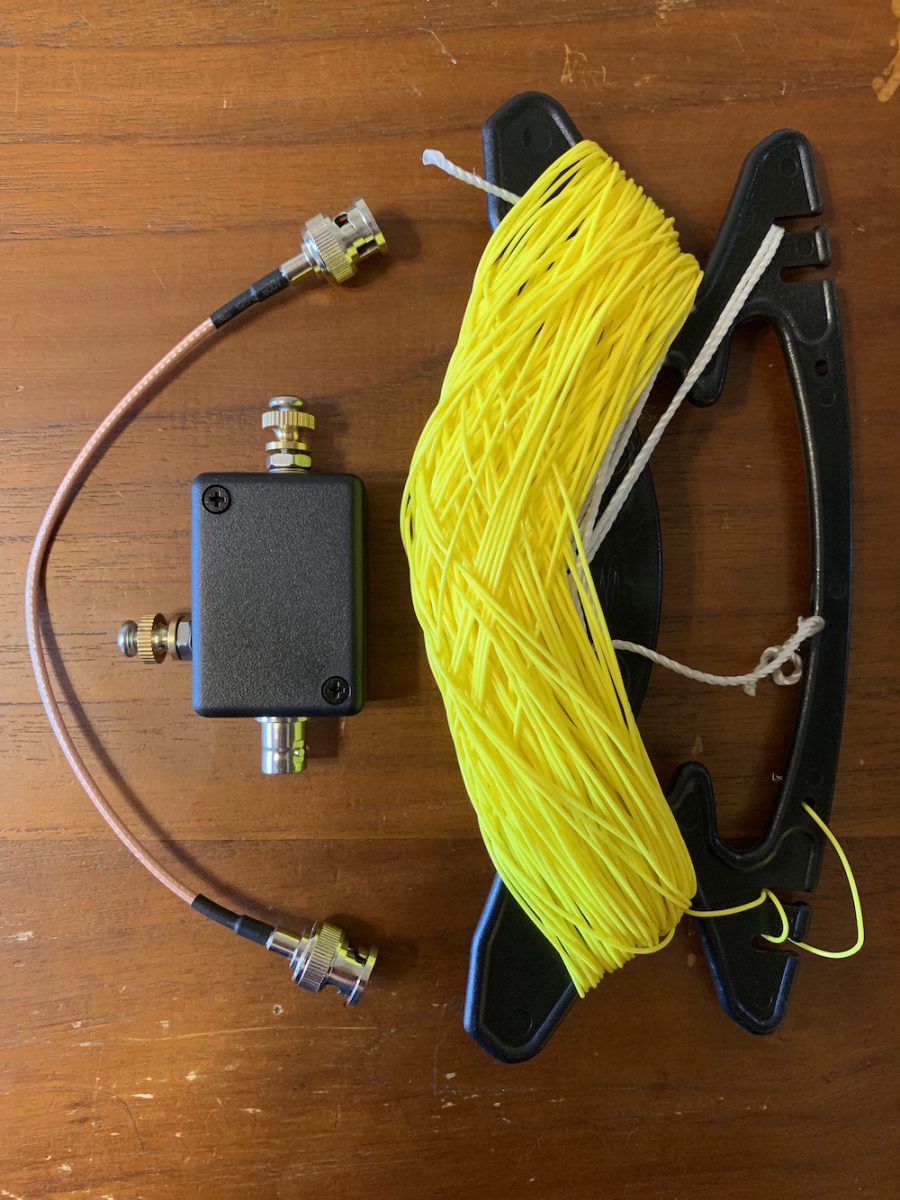
I took my antenna analyzer (I have one of those cheap ones from eBay – similar to this one), my radios, my antenna wire, and this new kit from QRPGuys up to a local SOTA summit to do the tuning. I brought a backup antenna in case things didn’t work out. It wasn’t needed!
Now, my antenna analyzer is certainly no RigExpert, but for purposes of trimming an antenna, it works just fine.
Summit Activation / Tuning
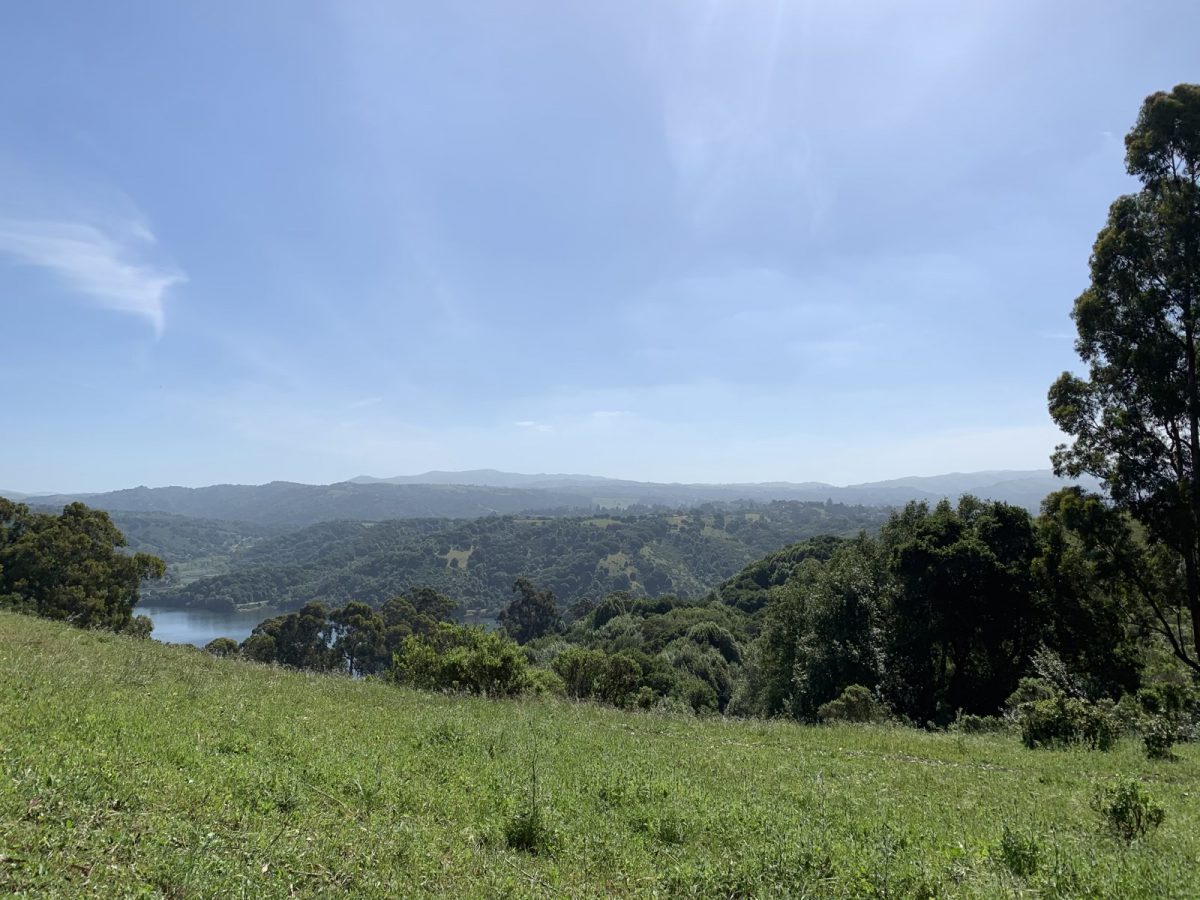
I took everything up to a known summit—one where I knew I’d have plenty of space to string out the wire, without lots of people around. I did bring along my sons and our dogs, which made things a little bit trickier, but it worked out nonetheless.
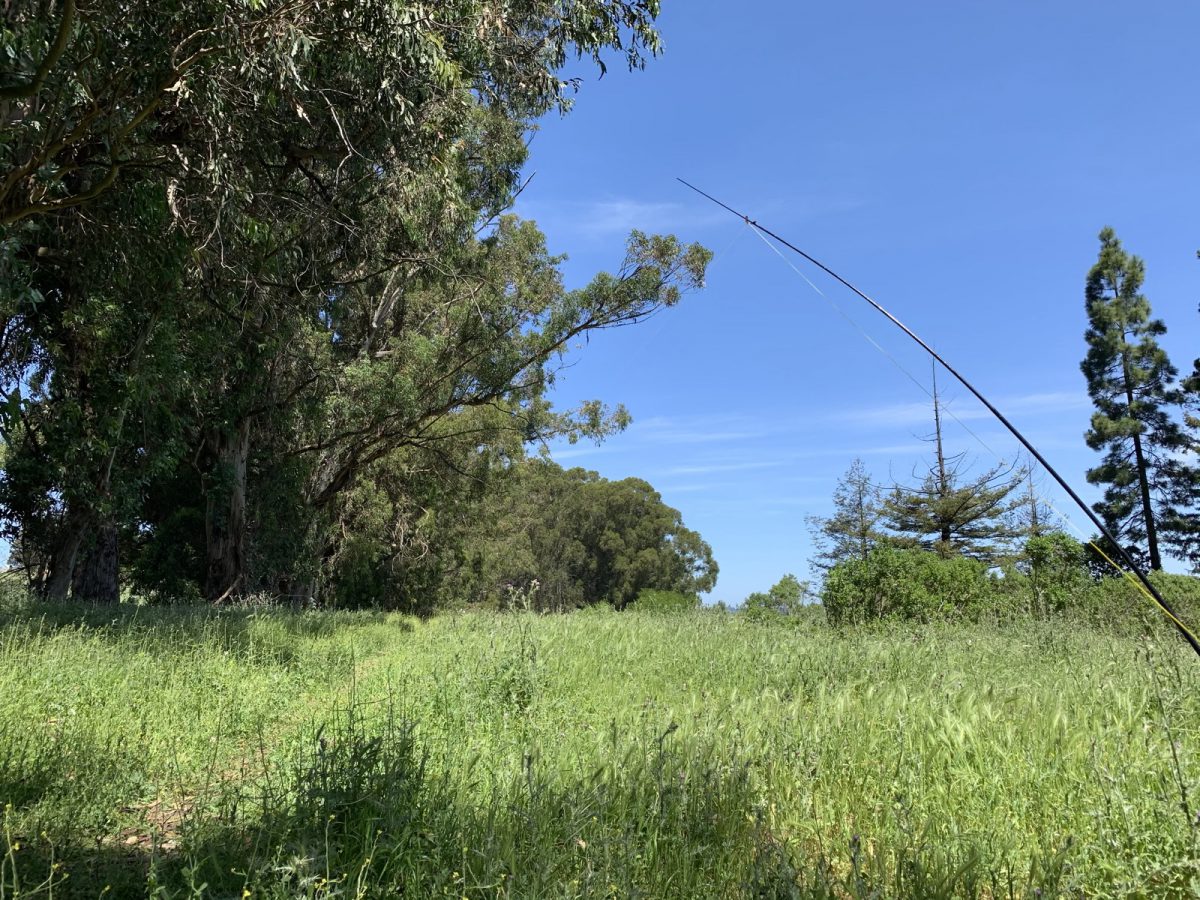
This summit, “Chabot 2 Benchmark,” is pretty popular because it’s easy to get to. But if you choose the right spot to activate, there isn’t too much foot traffic. And there are massive trees, perfect for throwing an antenna wire over.

We arrived at my usual activation spot and after getting the boys settled with their hammock, I immediately got to work setting up. I even enlisted their help a little bit. After a couple of throws, I had the antenna wire up over a decently high branch.
Oops…
I then realized I’d forgotten the battery for the antenna analyzer. It doesn’t have its own internal battery, instead relying on a 12v power connector. D’oh!
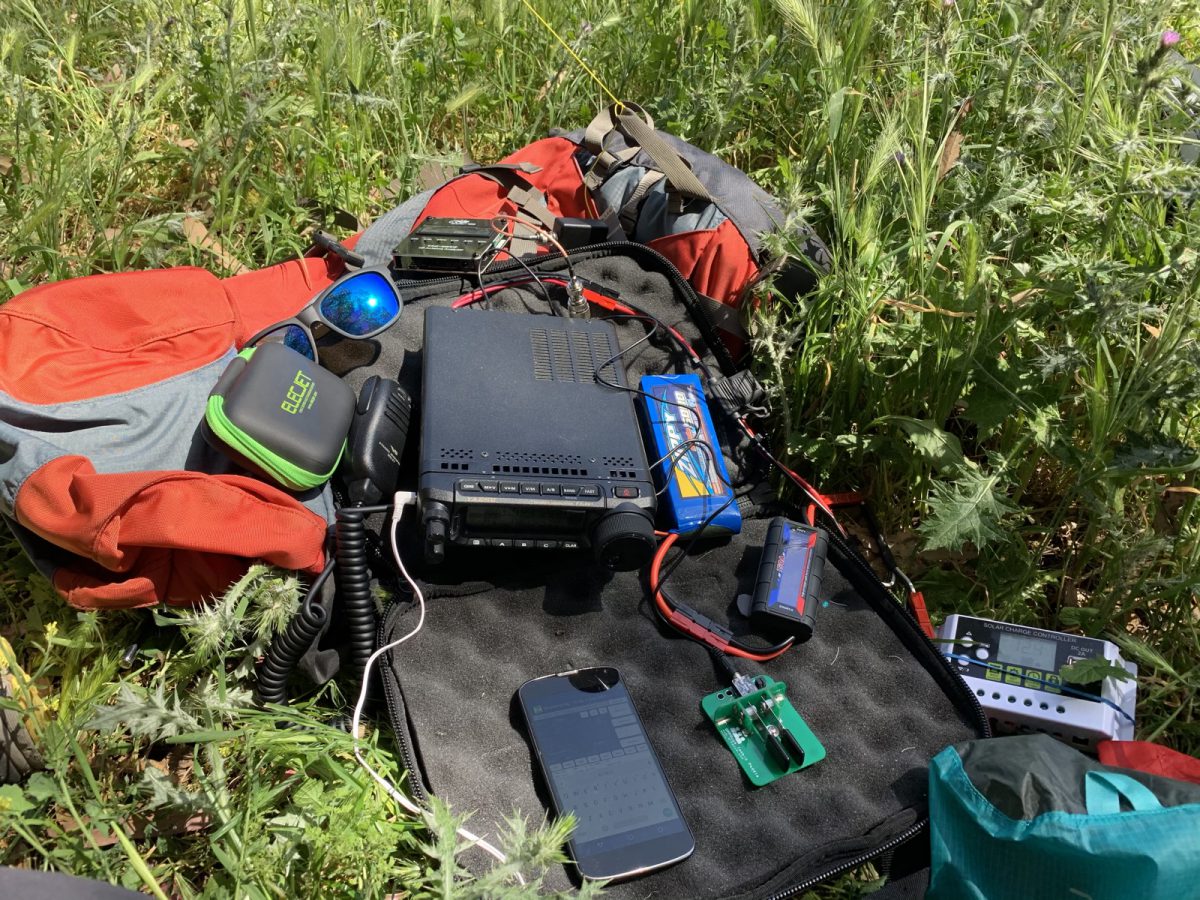
Fortunately, I had various connectors available—I’d brought along my solar setup for running the FT-891. At first I tried running the analyzer directly off of the solar panel. That didn’t work reliably—too much voltage fluctuation. I then hooked it up via the charge controller and the LiPo battery I use for the FT-891. That worked a charm!
Trimming
As expected, the wire was way too long initially. It was showing low SWR somewhere below 3.6MHz. I kept things hooked up and walked to the far end of the wire. I took off 6 inches or so. Tied things back up, walked back to the analyzer. Still not in range. So I repeated the trimming several more times until it was in range.
Now, some people practice and recommend twisting the wire back on itself rather than actually cutting it. I think this might work well with other kinds of wire, but I haven’t been able to make it work well with this tinned-stranded lightweight wire—it just doesn’t want to stay twisted back on itself. I’m sure I could solve that, but rather than futz with other solutions, I carefully trim.
Once the antenna was in range for 80 meters, I tried it on several other bands. It had acceptable SWR on several other bands, including 40 and 20 meters. This is what I’d hoped, as it makes multi-band SOTA activations possible with one antenna.
Let’s make some contacts!
I didn’t mention the time of day earlier in my post. It was daytime—around 11:30am by the time I started trying to get on the air. I tried 80 meters CW first, not expecting to make any contacts since 80 meters isn’t much of a daytime band. I didn’t make any contacts, but I did check the Reverse Beacon Network later on and found that the signal had gotten out.
Summit-to-summit success
After not making contacts on 80 meters, I checked for spots of others on summits. I found a couple and easily made contact. One on 20 meters, and another on 40 meters. Both CW.
More contacts
Then, I proceeded to call CQ SOTA and made several more contacts on 40 meters CW and SSB. It seemed the antenna was working quite well for other bands.
Summary
This is a very good transformer kit from QRPGuys. I’ll definitely be using it more.