Quick info:
| Activation Date: 13 April 2019 | |
| Transport: Hike | Distance: 2.4 miles |
| Elev. Gain: 300 feet | Time: 30 minutes |
| Rig(s): FT-891 | Bands: 20m, (cw/ssb), 40m (cw) |
| Antenna(s): EFHW | Antenna Support: Good trees |
| RF Noise: Low | Cell Service: Good (T-Mobile) |
While visiting family in Gig Harbor, Washington, I wanted to get a summit activation done. Ideally, it would be with the whole family (including my sister’s family). So it had to be a relatively easy outing. To top that off, we had plans later in the day. Maury Island fit the bill pretty perfectly, since the park contains not only a summit, but a beach, too! And the added bonus of a ferry ride. The weather wasn’t looking very favorable, but we went for it!
Getting There
| Parking: North side of Maury Island Marine Park |
| Trailhead: N/A |
| Fees/Permits: None |
| Route: Lots of options. Park right near AZ, or hike thru the park like me. |
| Dogs: Yes, on leash | Toilet: No |
Maury Island is a “tied island,” connected to Vashon Island via an isthmus. There are two ferry lines that serve Vashon Island, making it relatively easy to get to Maury Island from wherever you happen to be in the area. Since we were in Gig Harbor, we had a choice between the Southworth and Point Defiance ferries. If you’re coming from the east, the Fauntleroy ferry would be your option. We originally wanted to take the Southworth ferry, in order to avoid paying a toll on the Tacoma Narrows bridge, but timing was such that it made more sense to take the Point Defiance ferry.
We arrived at the ferry terminal well ahead of schedule, so we waited a while. After about 20-30 minutes, the ferry pulled in and unloaded the early-morning traffic off the island, then we were allowed to drive on. I grew up in Seattle and I’ve been on many dozens of ferry rides, but this just never gets old—I still love driving onto a boat and sailing across the water to my destination.
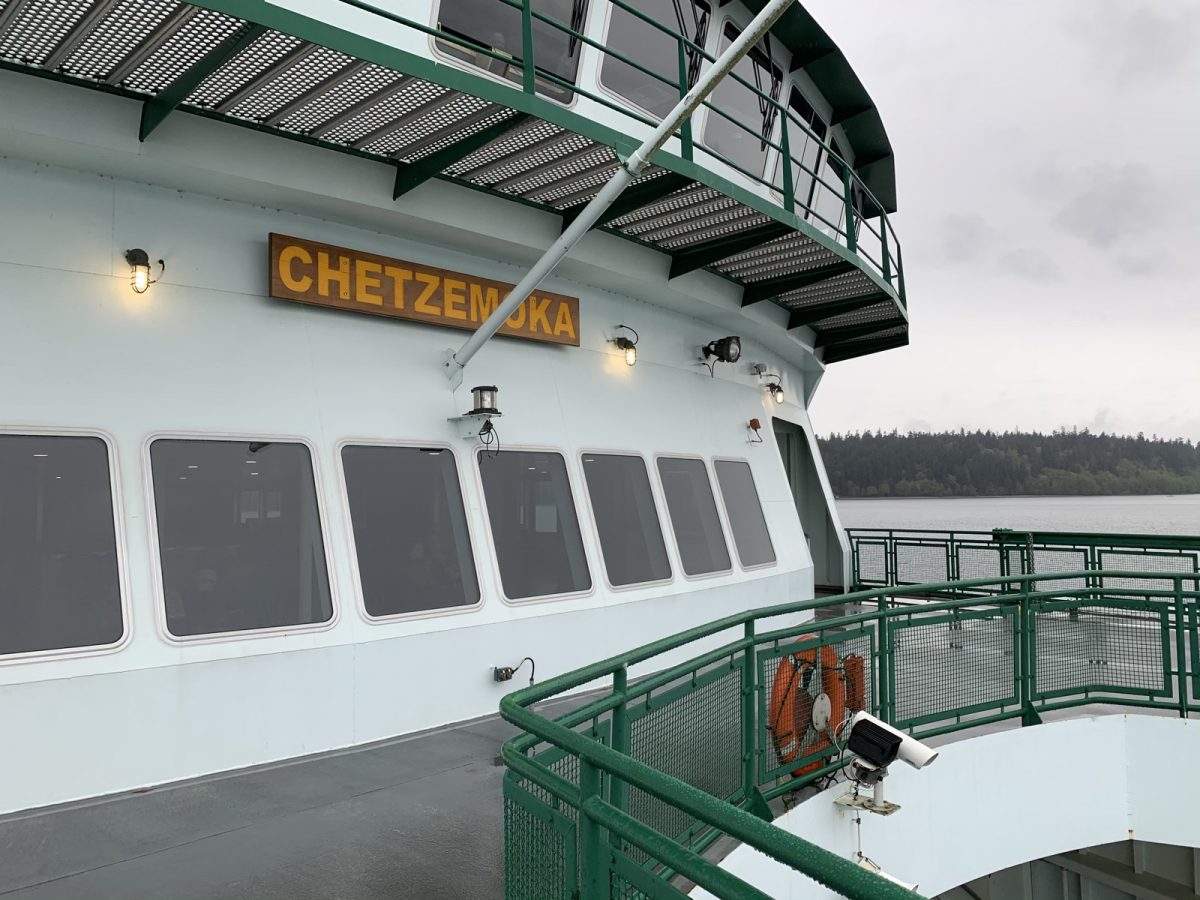
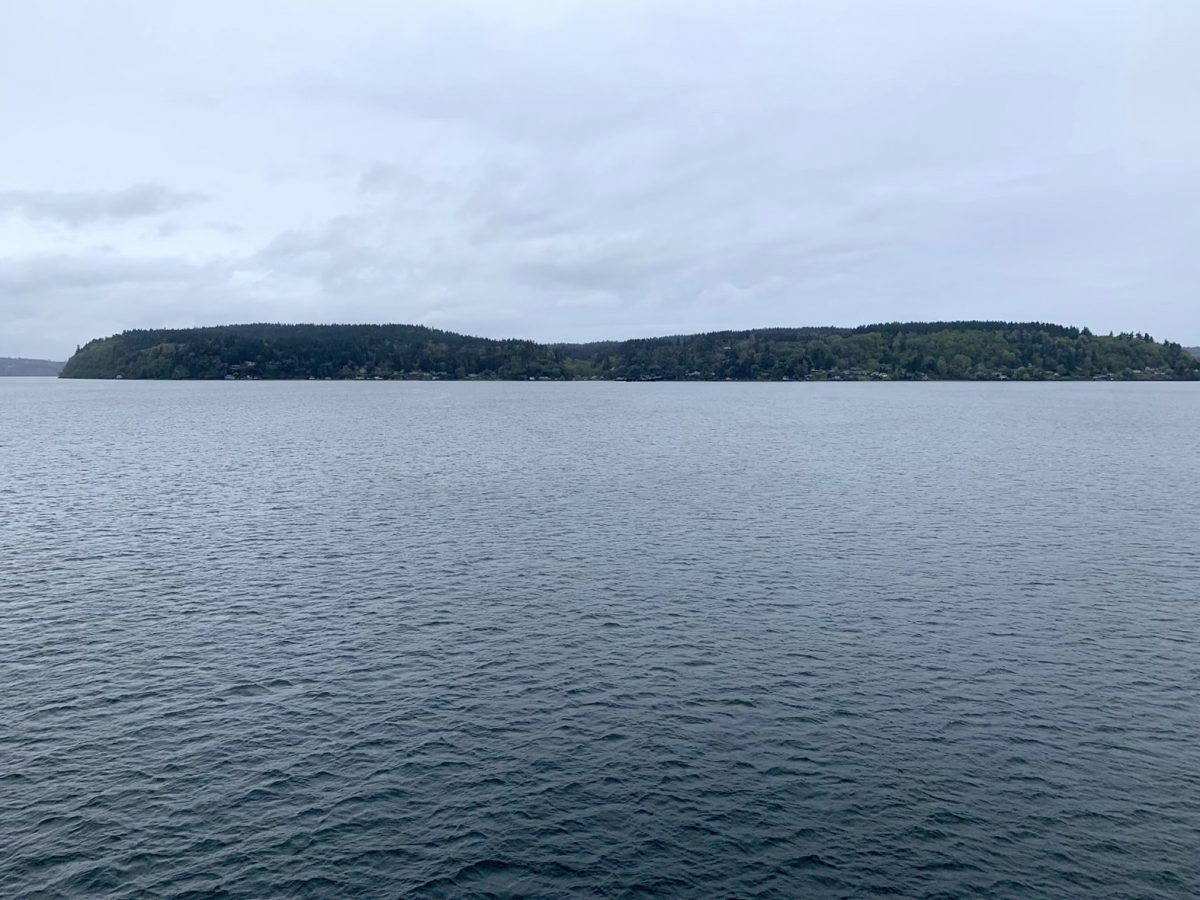
Of all the ferry routes in the Puget Sound, this is definitely one of the shorter ones. Perhaps 15 minutes or so. We got out of our cars anyway, to go get some fresh air on the upper decks and see if there were any views to be had.
Arriving on the island, it’s about a 15-20 minute drive to the park. You could drive straight to the activation zone (AZ) for this summit. It’s marked in my “route” link above, on SW 248th St, where it turns north. We opted to go to the official parking, on the north side of the park. We wanted to get some exercise from the short hike to the AZ, and it would allow those wanting to go straight to the beach to split off and go there. This small dirt lot looks like it has room for about 15-20 cars.
The Hike
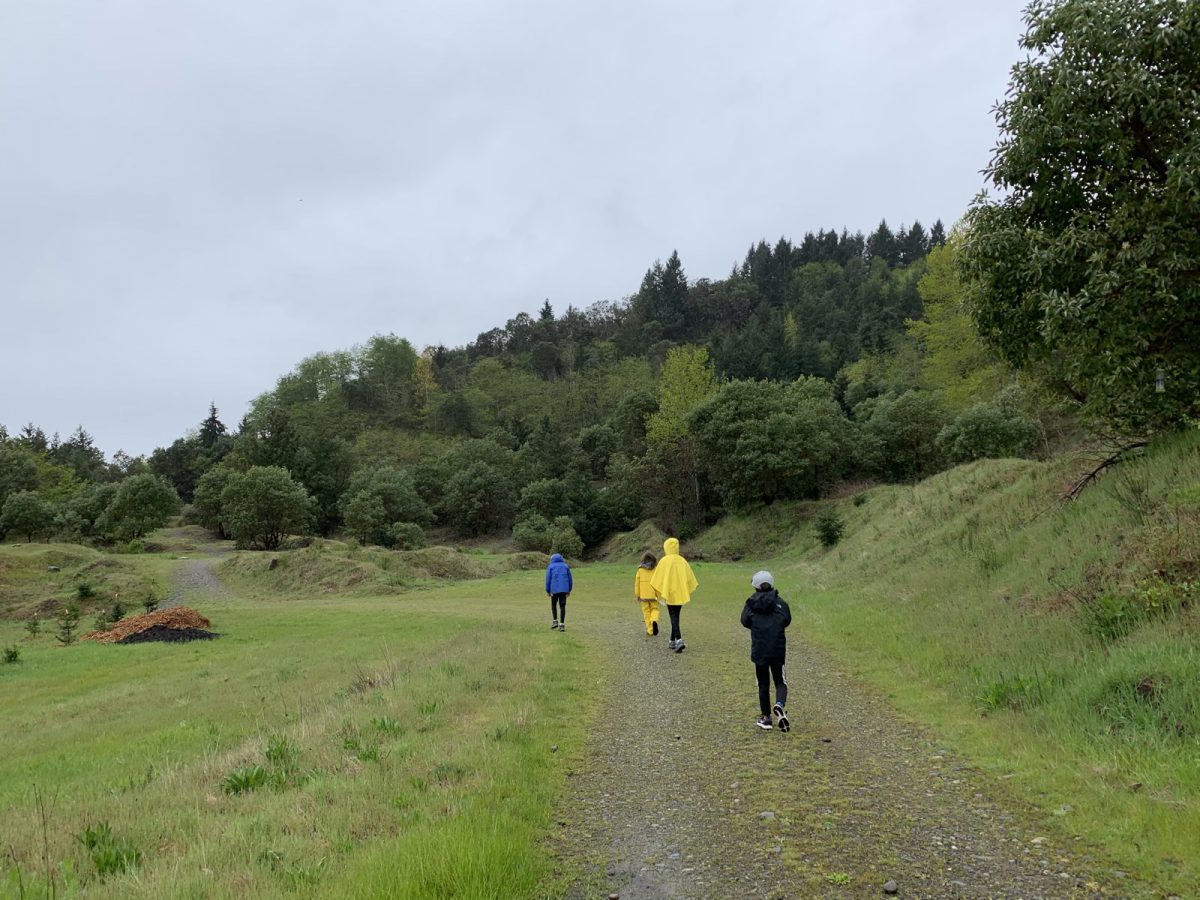
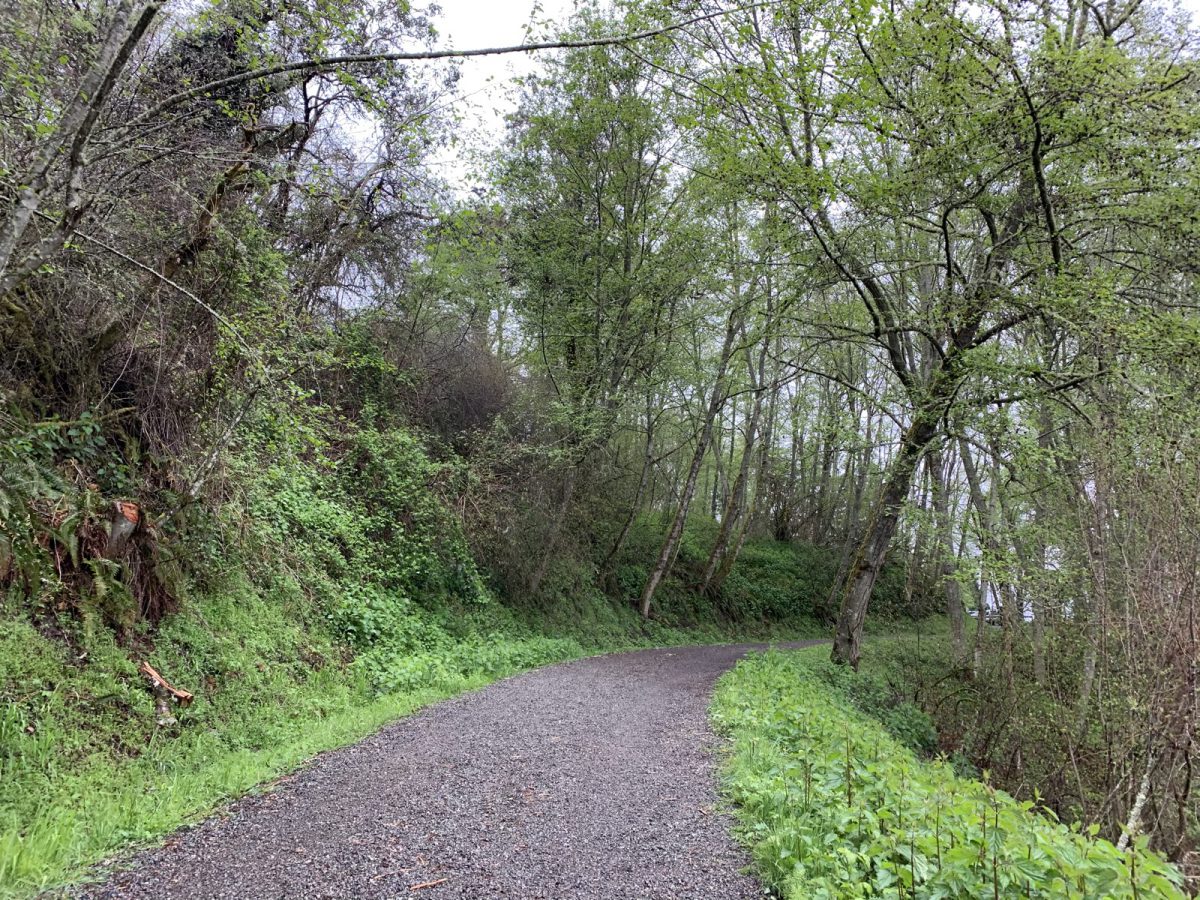
There were seven of us: me, my sister, her husband, my two boys, and her two kids. It was cool and rainy. We all got our rain gear on and proceeded to hike down the dirt road, past the entrance gate.
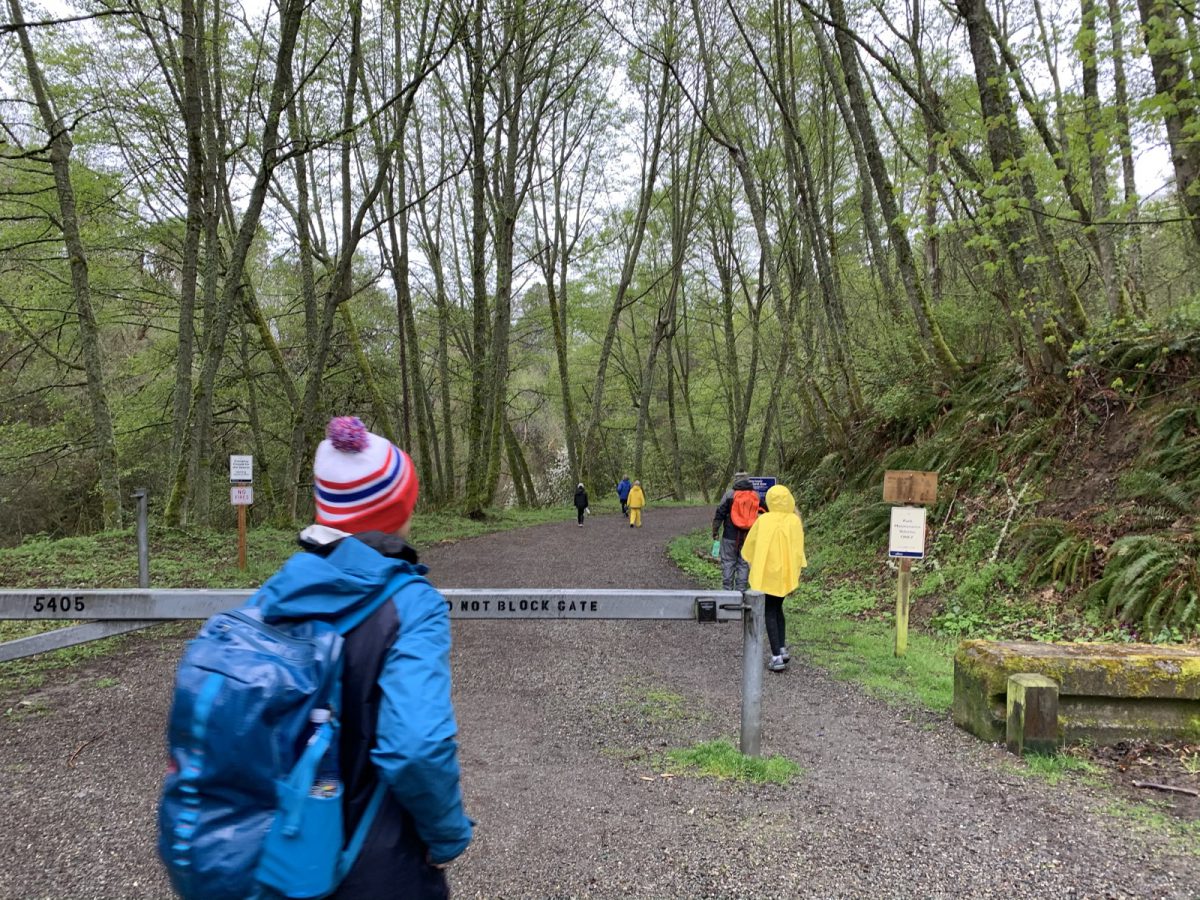
I usually don’t like starting out my summit hikes with a downhill section, meaning I’ll have to do more climbing later on. However, in this case, we were artificially giving ourselves work to do. If we desired, as I mentioned earlier, we could have parked on the side of the road right in the activation zone (and near a nice viewpoint/picnic platform). There’s also the option of walking along the (fairly flat) road from this parking lot to the activation zone. Anyway, we wanted to hike.
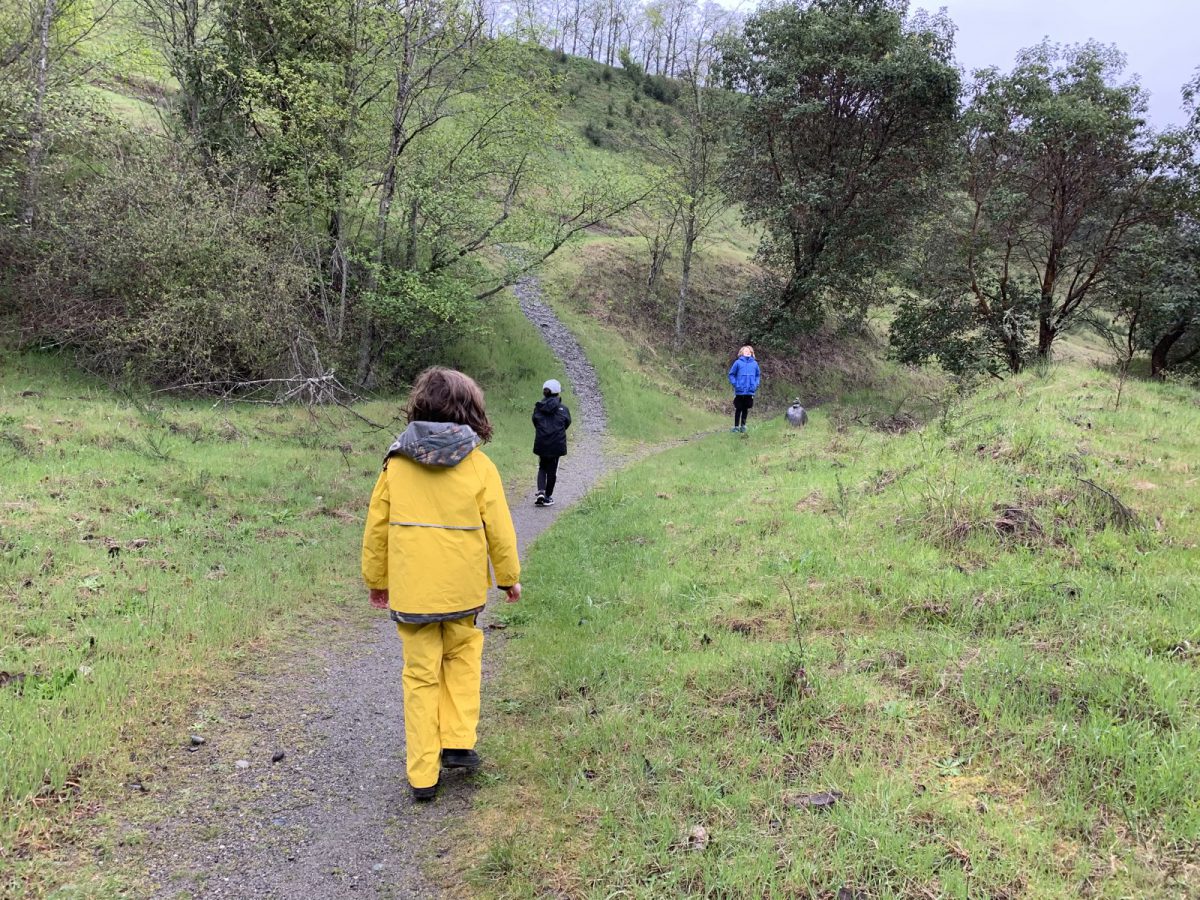
About four tenths of a mile into the hike, the road forks. If you continue downhill, you’ll end up at the beach. My brother-in-law continued to the beach to do some fly fishing in his waders, while the rest of the gang took the uphill fork and continued hiking towards our summit. The road/trail flattens out for a while, then starts climbing after another couple tenths of a mile. There are various little spur and loop trails, but we stayed on the main road until it was obvious there was a trail to climb up toward the AZ.
After splitting off to climb the hill, the trail narrows and steepens. It climbs 300 feet over about a half mile—not too difficult but definitely not flat.
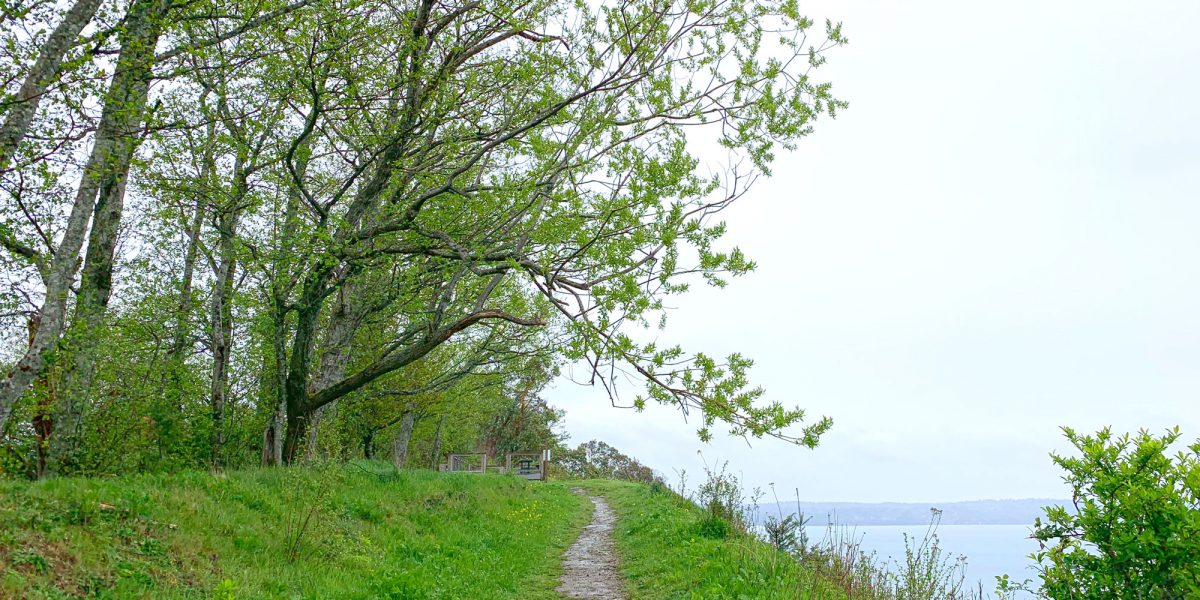
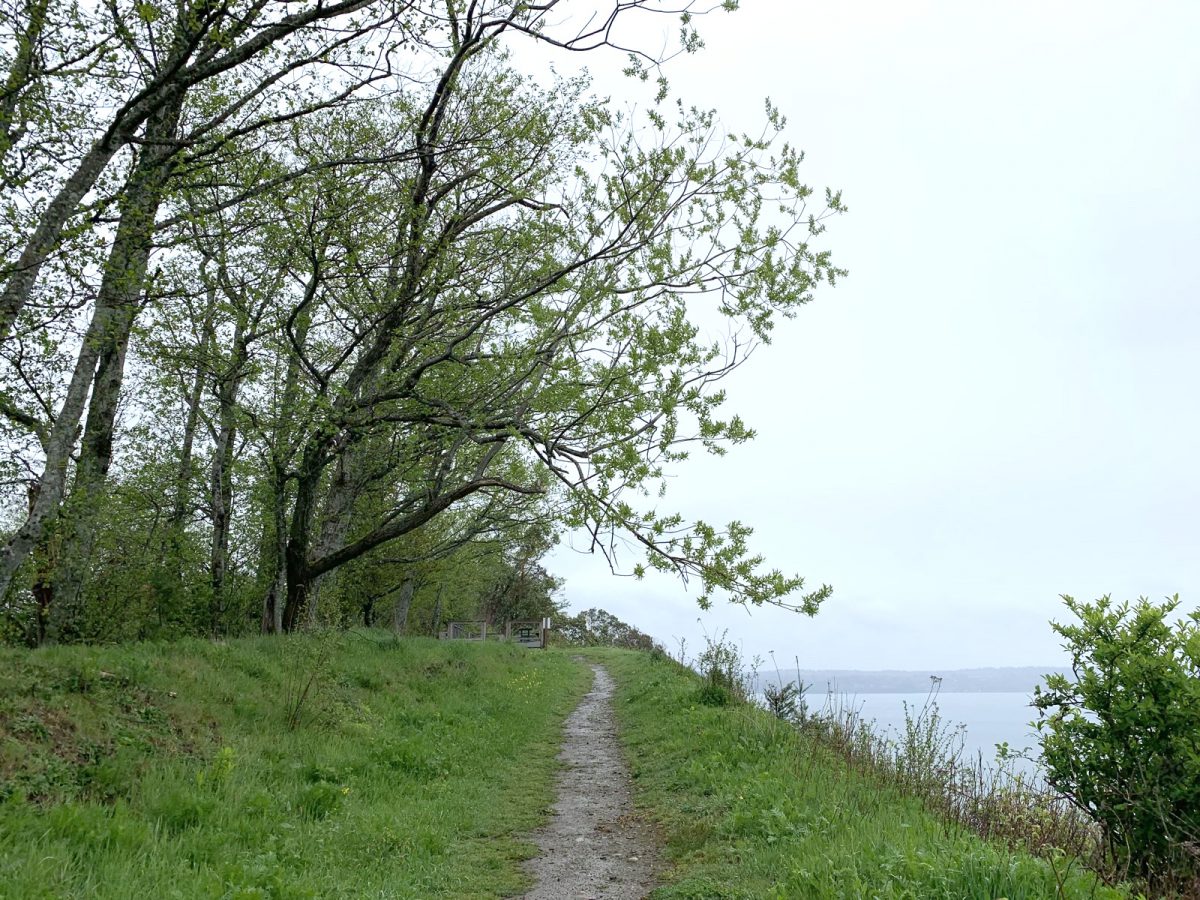
I don’t show it on my recorded track (I used the return trip for that), but we explored the loop trail a bit—the one that encircles the actual high point of the island/park. I decided I wanted to do my activation out where there were good views (even though I’d be using my Bothy Bag), so we turned back and hiked over to where the viewpoint platform is.
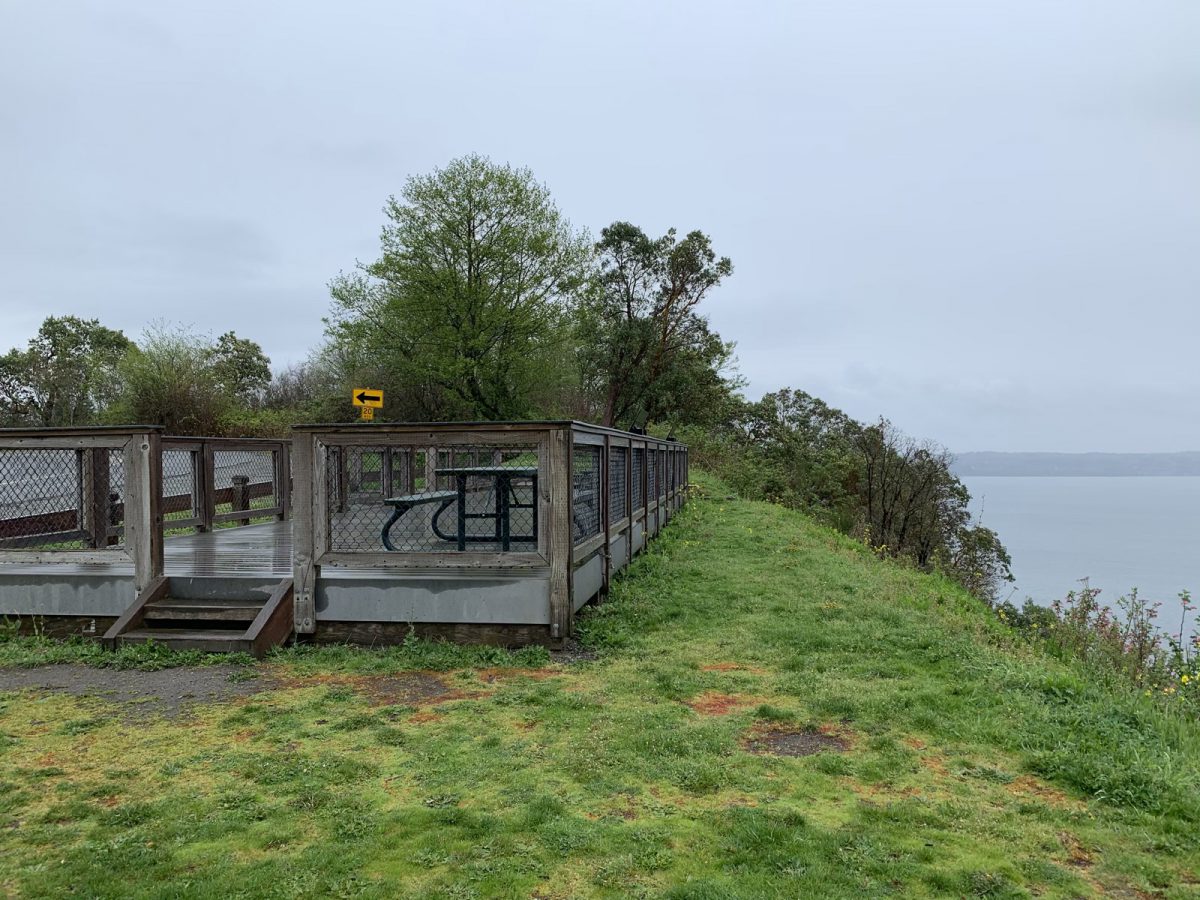
The viewpoint area is immediately adjacent to the road, so it’s not the most remote of places to set up for an activation, but could be just the thing if you have a mobility issue and want to do a SOTA activation! I think there’s room to park 5-6 cars on the nearby road, and there may even be a wheelchair ramp on the north side of the platform. It was also a great spot for our crew to take a break and have a snack before hiking down to the beach. As I was hiking up to it, I’d already chosen the tree I’d use for my antenna wire, and where I’d set up my radio.
Setup and Operation
I decided to set up outside of the platform, sitting on the grass, sheltering myself from the wind and rain in the Bothy Bag. I wasn’t too concerned about the rain affecting me, but I didn’t want my radio equipment getting too wet. Also, I hadn’t yet tested the Bothy Bag “in the wild.” While my sister and the kids had a snack, I got my antenna wire up into a nearby tree branch. It took me three tries, since the wind whipping up the hill kept throwing it off-course. But I eventually did get it up there, and proceeded to set up my shelter as the rest of the crew prepared to hike down to the beach.
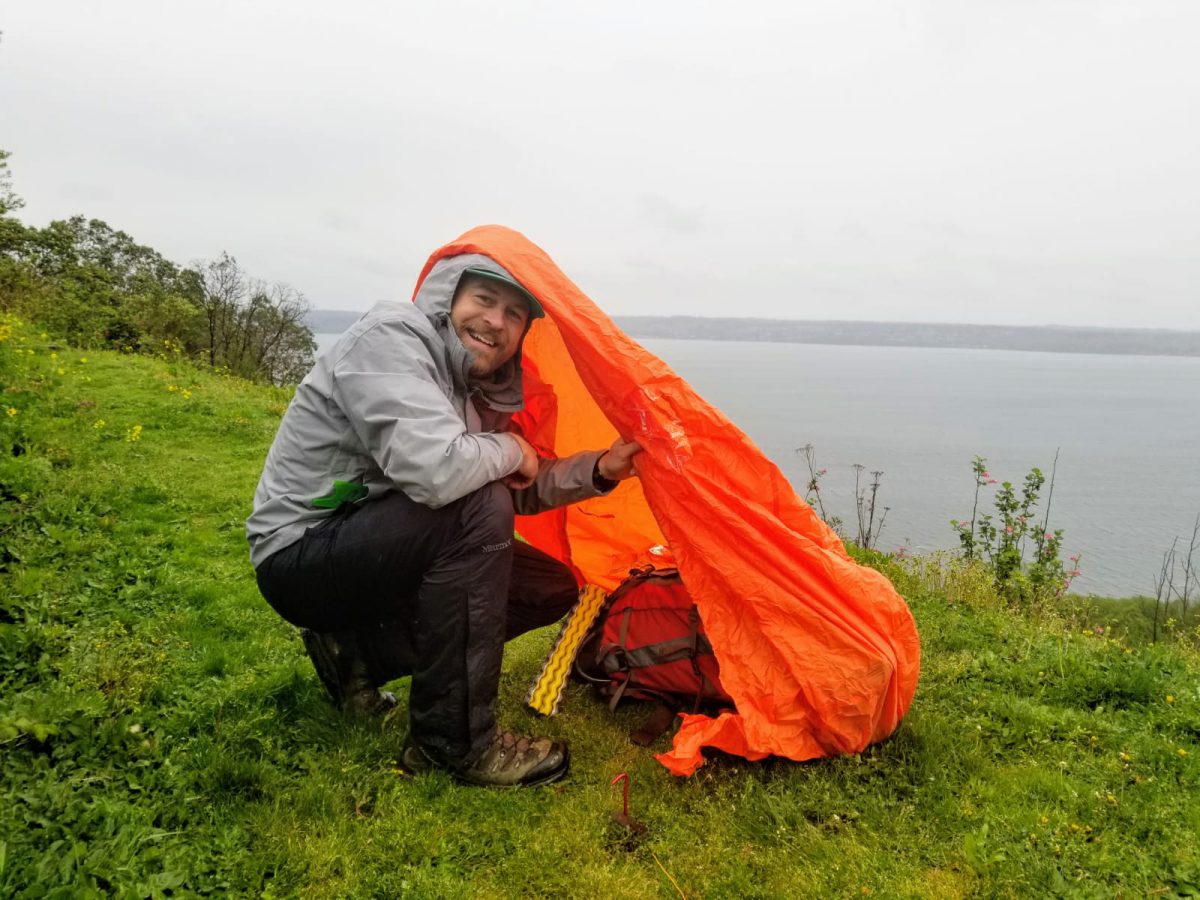
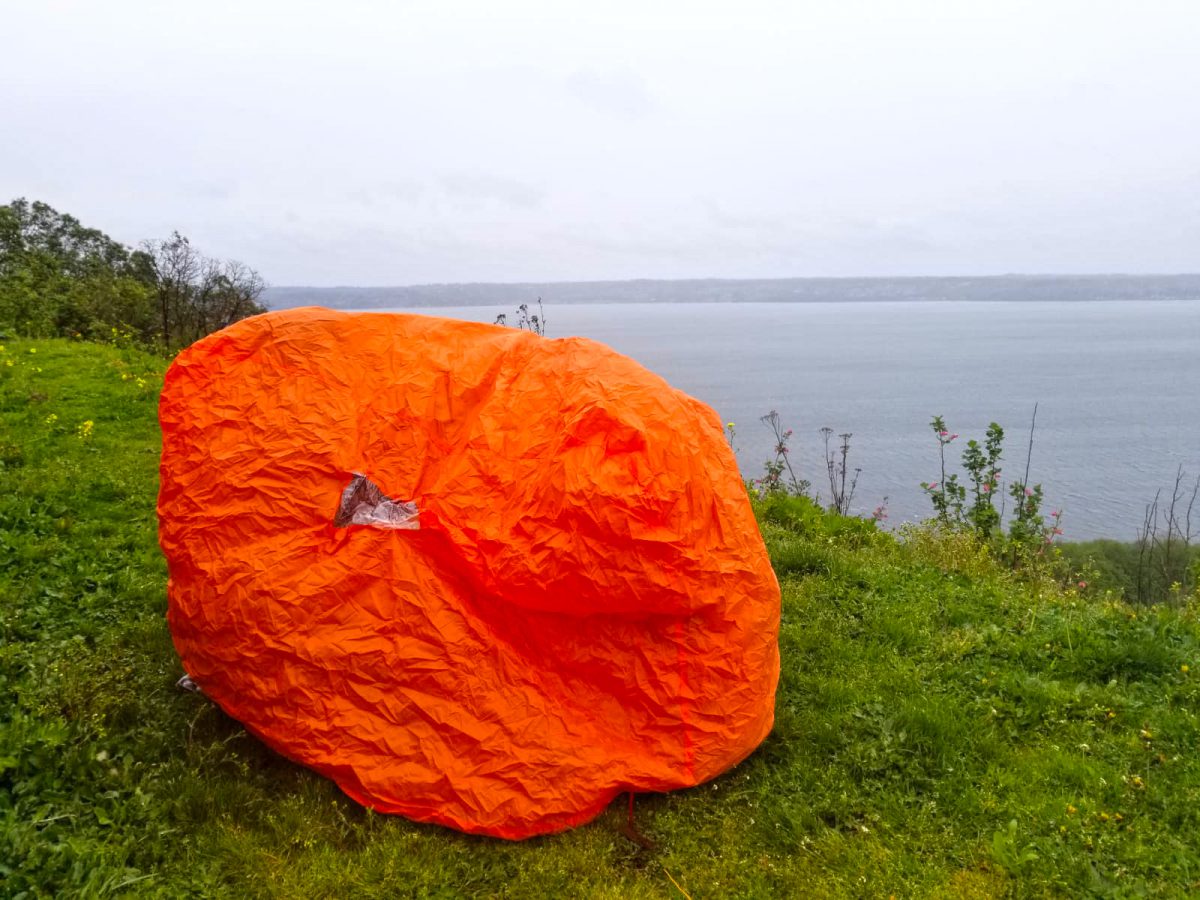
This post isn’t meant to be a review of the Bothy Bag, but I gotta say – it’s a pretty great little shelter. It’s meant for two people, but it’s also great for a person and their backpack. I used my backpack sitting across from me to provide some structure, and sitting on my little foam pad, was pretty comfortable in there. I didn’t put on any extra insulation and was quite warm. I had been warned that condensation buildup can be an issue. It did become an issue after a while, but by then, I was nearly done with my activation.
I got all of my radio stuff out of the backpack and proceeded to set it up. I wanted to try and run SSB/voice on this outing, so I brought the FT-891. Of course, I’d forgotten to pack my HT, so I wouldn’t be getting any local FM contacts made, which I was pretty disappointed about. I love HF, but I also like making local contacts when I can.
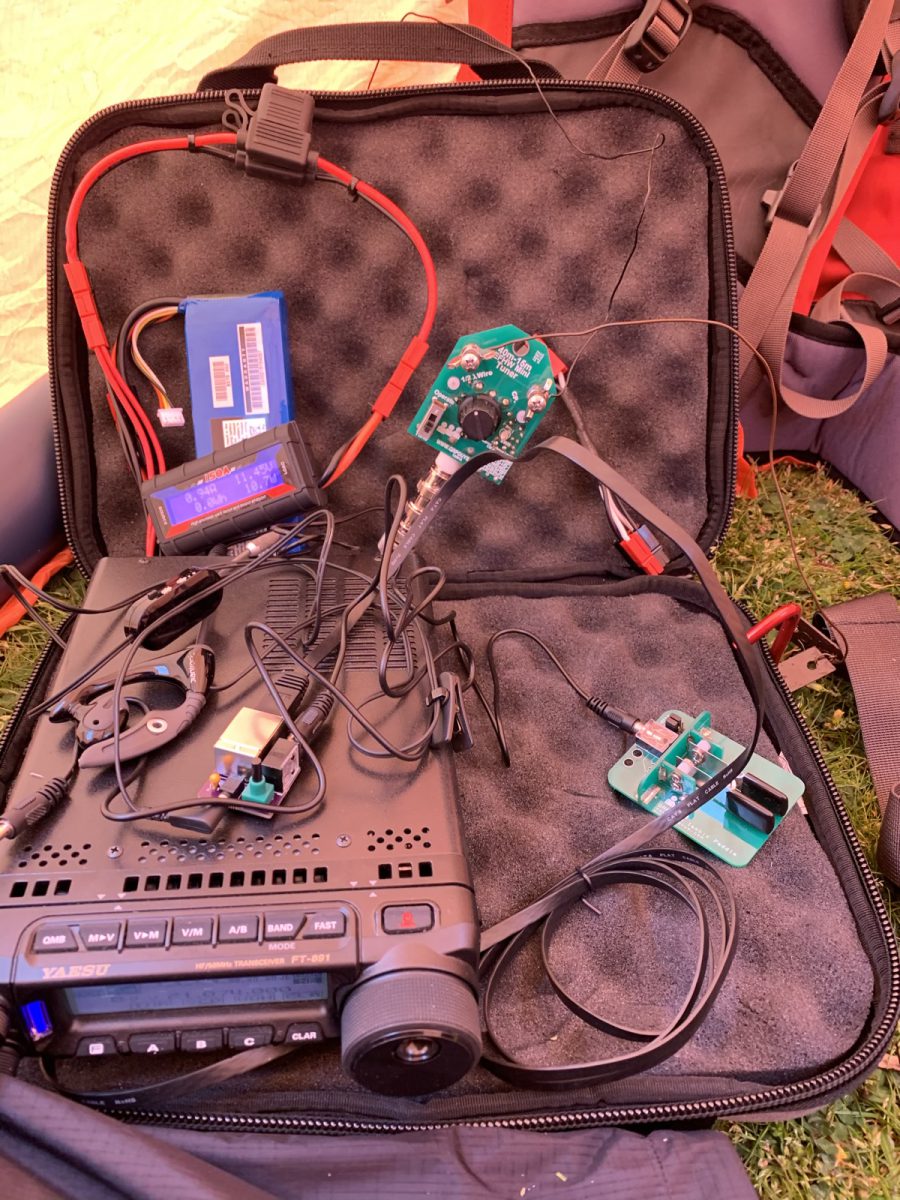
Since I was using my EFHW antenna, I dialed the CW power down to 5 watts, and the SSB power down to 15 watts. The matching unit for this antenna is meant for QRP power levels, and I don’t want it going up in smoke!
Starting out on 20 meters CW, I called CQ a few times with no response. I called a couple more times—still nothing. Since I had a cell signal, I checked to see if I’d been automatically spotted (I had earlier posted an alert, so should have been auto-spotted). I had been picked up by RBN (Reverse Beacon Network), but RBNHole hadn’t yet auto-spotted me. So I sent out my own spot. Right after that, I started getting answers to my calls.
By the time 20 meters CW dried up, I’d made several contacts, including two summit-to-summit (S2S) contacts. After this, I switched to SSB operation and made contact with several more operators, including another two S2S connections!
By the time I switched to 40 meters, I was running a little low on time, so decided I’d just do CW. I made a few contacts here, including Doug KI6DS for the third time—he’d worked me on 20 meters, both CW and SSB. No S2S contacts on this band.
Once 40 meters dried up, it was starting to rain condensation inside my shelter – time to go! Perhaps next time I use the shelter, I’ll try to set up the vent tube a little better so I get less condensation. Still, the shelter kept me warm and dry the whole time. As I was putting away the radio, my sister called me to let me know they were hiking back to the car right away, after having spent a little time at the beach. She said the wind and rain were picking up. I was a little surprised, but saw what she was talking about as soon as I exited my little shelter—it had gotten a bit stormier!
Leaving, I debated whether to take the road and avoid elevation changes, or take the same trails back. I ended up taking the trails—more enjoyable!
Thanks to all the chasers and summit-to-summit operators!
Map
Activation Log
| Time | Call | Band | Mode | Notes |
| 17:29z | KI6DS | 14MHz | CW | |
| 17:30z | W6IPA | 14MHz | CW | |
| 17:30z | N0OI | 14MHz | CW | |
| 17:32z | VA6FUN | 14MHz | CW | |
| 17:33z | N5ZC | 14MHz | CW | |
| 17:34z | W6STR | 14MHz | CW | |
| 17:36z | NA6MG | 14MHz | CW | S2S |
| 17:37z | WA7JTM | 14MHz | CW | S2S |
| 17:39z | KX0R | 14MHz | CW | |
| 17:43z | KF7NP | 14MHz | SSB | S2S |
| 17:45z | N0OI | 14MHz | SSB | |
| 17:47z | KI6DS | 14MHz | SSB | |
| 17:47z | W6IPA | 14MHz | SSB | |
| 17:49z | K6TAA | 14MHz | SSB | S2S |
| 17:54z | NW7E | 7MHz | CW | |
| 17:55z | KH2TJ | 7MHz | CW | |
| 17:56z | KI6DS | 7MHz | CW | |
| 18:00z | WA6KYR | 7MHz | CW |