| Activation Date: 20 January 2018 | |
| Transport: Hike | Distance: 3 miles |
| Elev. gain: 1,050 feet | Time: 1.5 hours |
| Rig(s): LNR Precision MTR-3B | Band(s): 30, 40m CW |
| Antenna(s): End-fed half-wave (HF) | |
| Cell Service: None (T-Mobile) | |
| Parking: Ryan Mountain | |
| Trailhead: Ryan Mountain | |
| Fees/Permits: Joshua Tree National Park – $25 | |
| Route: Ryan Mountain Trail | |
| Dogs: No | Toilet: Yes |
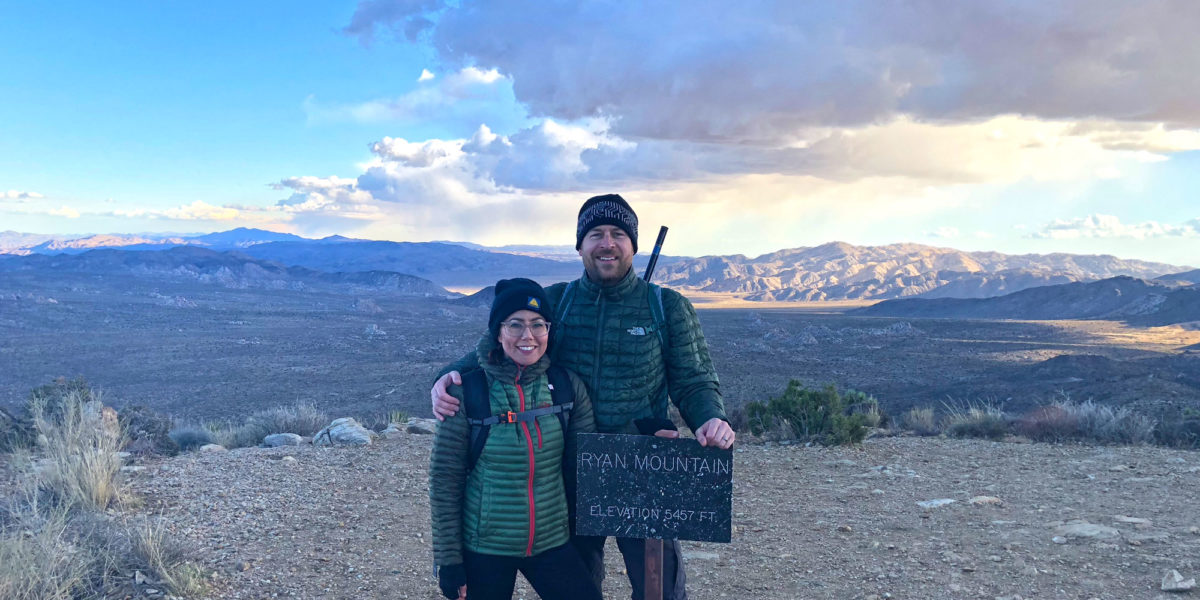
My wife and I were visiting Joshua Tree National Park for our tenth anniversary. Originally, I wasn’t planning on doing SOTA while spending time with my wife but then a friend recommended this hike. My wife gave her blessing for a short SOTA activation, and so it came to be! It ended up being a cold and windy, but very beautiful hike.
Getting There
Having done another hike earlier in the day, we were already in the national park. Upon entering the park in the morning, we’d found that the entry booth was closed. It was still possible to enter the park, but there was nobody there to accept payment for the park fee. This was likely due to the government shutdown. Our first hike was “The Maze Loop,” which was only about a 5-minute drive into the park. The trailhead for Ryan Mountain was another 10-15 minutes from there. Finishing our first hike, we found we had a bit of time on our hands before starting Ryan Mountain (we wanted to see the sunset from the top). So we drove around the park a bit and did some sightseeing. After a bit of that, we went to the Ryan Mountain trailhead.
The Hike
After exploring the rock formations at the bottom of the mountain, we decided to head on up. We grabbed our packs and started hiking. It was a little cold and breezy, but not too bad. The trail starts out gently and starts climbing in earnest after about a quarter mile. Views of the surrounding valleys open up right away. In the more shaded areas, we even got to see a little bit of snow left from earlier that day.

Beautiful clouds and snow remnants on the trail
The trail is quite popular. We saw lots of hikers heading both up and down, but it wasn’t an overwhelming amount of people. Being a well-maintained (and short) trail, there are even spots with nicely built stone steps.

Crossing the ridge
Before long, the summit was in sight, and we were there.

At the summit!
Here’s a nice little video at the summit:
Setup and Operation
Having previously read trip reports and done some scouting on Google Street View, I knew I’d be setting up a little bit north of the true summit. The activation zone is actually quite large for this summit. After we visited the mound of rocks on the summit, we went to my planned operation spot. Knowing my wife would be spending my operating time reading a book, we found a spot out of the 20+mph winds. She put all of her layers on and wrapped herself in a down blanket we’d brought.

All bundled up!
I wedged my antenna mast (5.6m squid pole) into some rocks and strung it out along the summit ridge. Its average height was around 15-20 feet above the summit terrain. With the winds gusting over 30mph over the summit ridge, I was a bit concerned as to whether the antenna wire and mast would hold up. It turned out to be okay, though!
Even behind the rocks, it was still a bit breezy and cold. So I was glad I had my gloves on, and had new sound-isolating headphones to keep the wind noise out. I hadn’t yet operated the paddle with gloves, so that took some getting used to.

Operation getting started
Having gotten the antenna set up pretty solidly in the hard-blowing wind, I sat down to operate. I checked one more time to see if I had any cell service for self-spotting. Nada. Instead, I’d rely on my previously-posted alert and RBNHole. Starting out on 30 meters, I tuned to my planned frequency and listened for a bit while I got settled in. I sent “QR” and then realized I’d completely forgotten the Q-code to see if the frequency is in use! So I sent a “?” and listened for a bit more while I struggled to remember the Q-code I use all the time! Thinking back on it, I simply could have sent another “?” and listened and it would have been fine. But then I remembered I had the Hamlog app, which has lots of references and tools in it. I pulled up the Q-codes, found “QRL” and I was on my way.
I made one contact on 30 meters, then stopped getting calls. I figured this might be the case. Even the one contact I made was quite weak. Checking RBN later, I saw that I was spotted all over, but with pretty low signal reports. I was excited to even get the one contact, qualifying the summit.
I then switched to 40 meters, found a clear frequency, called CQ and started getting answers, starting with two of my QRPOps friends from the Bay Area, Len K6LRF and Vic AB6SO. After 7 fairly quick contacts on 40m, I stopped getting calls. It was definitely challenging operating in the cold wind, but I pulled it off. Thanks to chasers for their patience in my clumsy cold-fingered CW!
I packed up. While doing so, I picked up the HT and called CQ a couple of times on 146.52. I figured there might be a slight chance of a contact, but didn’t get any replies.
We visited the summit one more time. After getting out of the blanket and into the wind, my wife decided she didn’t want to hang out too much longer, sunset or no. We decided to head down and watch the sunset from a warmer, less windy place. On the way down we watched a very amazing sunset over the desert valley.

Joshua Tree sunset
Map
Activation Log
| Time | Call | Band | Mode |
| 23:45z | W9MRH | 10MHz | CW |
| 23:51z | K6LRF | 7MHz | CW |
| 23:57z | AB6SO | 7MHz | CW |
| 23:58z | NW7E | 7MHz | CW |
| 23:59z | K0RS | 7MHz | CW |
| 00:01z | NS7P | 7MHz | CW |
| 00:02z | WB7ULD | 7MHz | CW |
| 00:03z | KR7RK | 7MHz | CW |