Quick Info:
| Activation Date: 15 August 2021 | Summits: W6/SS-090 |
| Transport: Hike | Distance: 13 miles (from camp) |
| Elev. Gain: 3300 feet | Time: 6 hours (from camp) |
| Rig(s): MTR-3B, VX-6r | Bands: 40, 20m CW. 2m FM |
| Antenna(s): Tri-band EFHW | Antenna Support: Rocks |
| RF Noise: None | Cell Service: Marginal (T-Mobile) |
There’s nothing like a good SOTA backpacking trip. Hot off the heels of a backpacking trip with my wife and two boys, I planned a trip into the Ansel Adams Wilderness, just east of Yosemite. This ended up being a solo trip, with 3 or 4 summits planned. But you know, it’s all well and nice to draw lines on a map – it’s an entirely different thing to actually do it! I ended up “just” doing this one summit – Parker Peak.
Getting There
The below info is how I did this, but like any backcountry destination or summit, there are often multiple ways to get there!
| Parking: Walker Lake Trailhead |
| Trailhead: Walker Lake (Bloody Canyon) |
| Fees/Permits: Overnight: Ansel Adams Wilderness permit |
| Route: Mono Pass to Parker Pass, then off-trail to summit |
| Dogs: No (route passes thru Yosemite NP) | Toilet: Vault at TH |
Having acquired an overnight wilderness permit for the Bloody Canyon trailhead (hell of a name, eh?), I planned on being camping for two nights up near the border between Yosemite and Ansel Adams wilderness. In fact, there isn’t any camping allowed in that part of Yosemite, so it’s good to know where the line is.
Click here to skip ahead straight to the hike to Parker Peak itself.
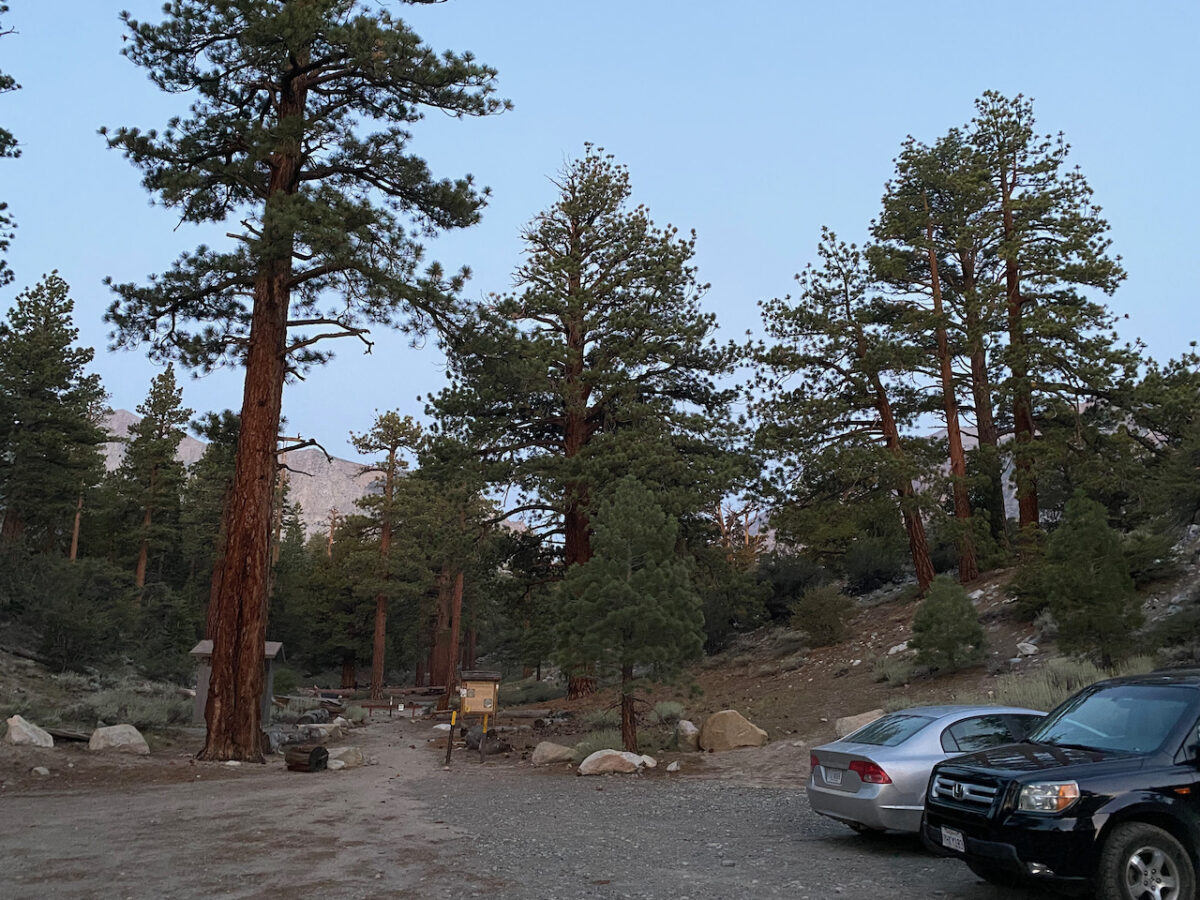
I arrived at the trailhead Friday night, having driven straight through Yosemite from the Bay Area. The last 4 miles or so are on dirt road. I saw sedans at the trailhead, but this is a dirt road I wouldn’t drive a car on. My older Honda Pilot handled it just fine though.
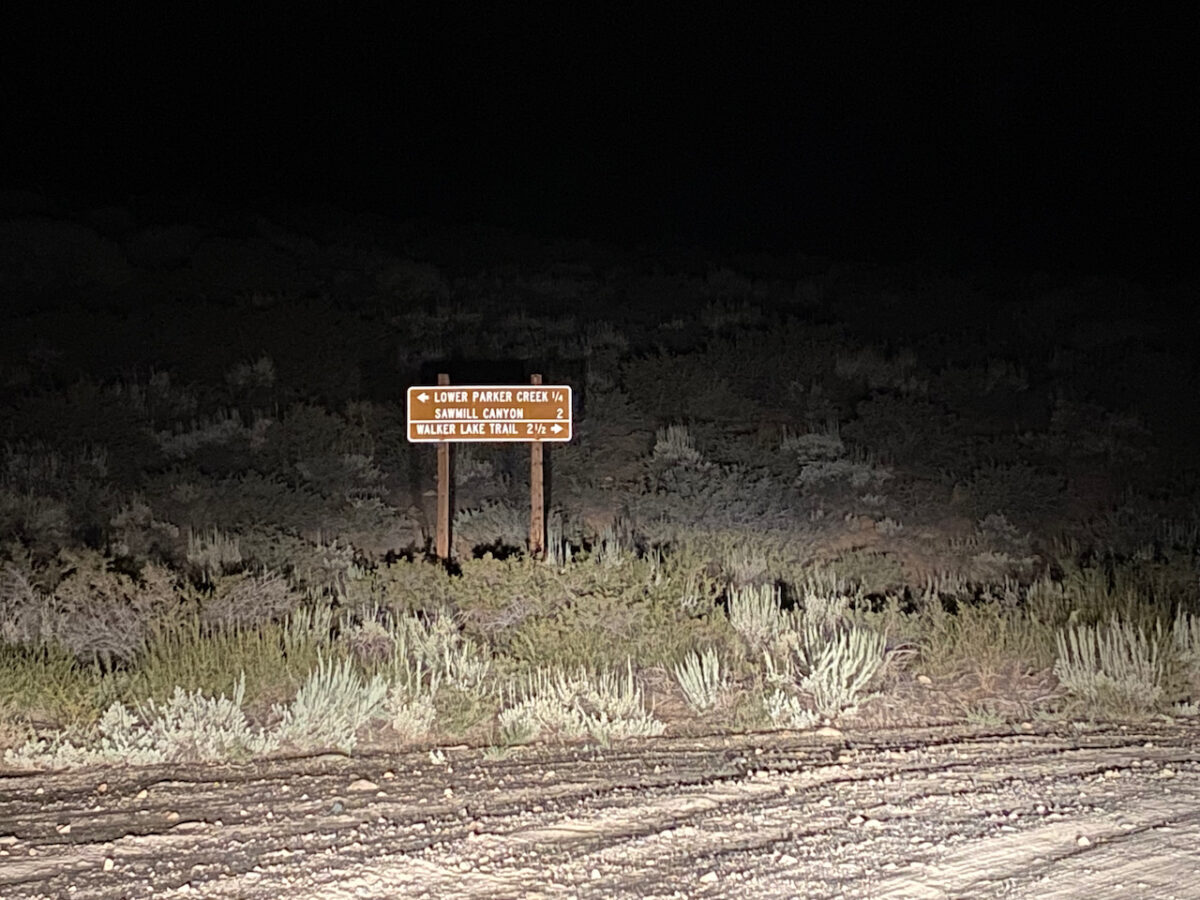
Arriving at the trailhead in the dark, I folded the seats of my Honda Pilot, set up my sleeping arrangement and went to bed. I planned on starting my hike before dawn the next morning, so I set an alarm just in case I didn’t wake up to the pre-dawn light.
There’s plenty of parking there – I’d say for at least 15-20 vehicles. And there’s a vault toilet right near where the trail starts.
Hike to camp
I’d been told by a friend, Brian N6IZ, that the trail could be a bit rough – lots of loose rock and somewhat overgrown in places. This turned out to be true. But mostly for the second half. The trail acquired the name Bloody Canyon for a reason.
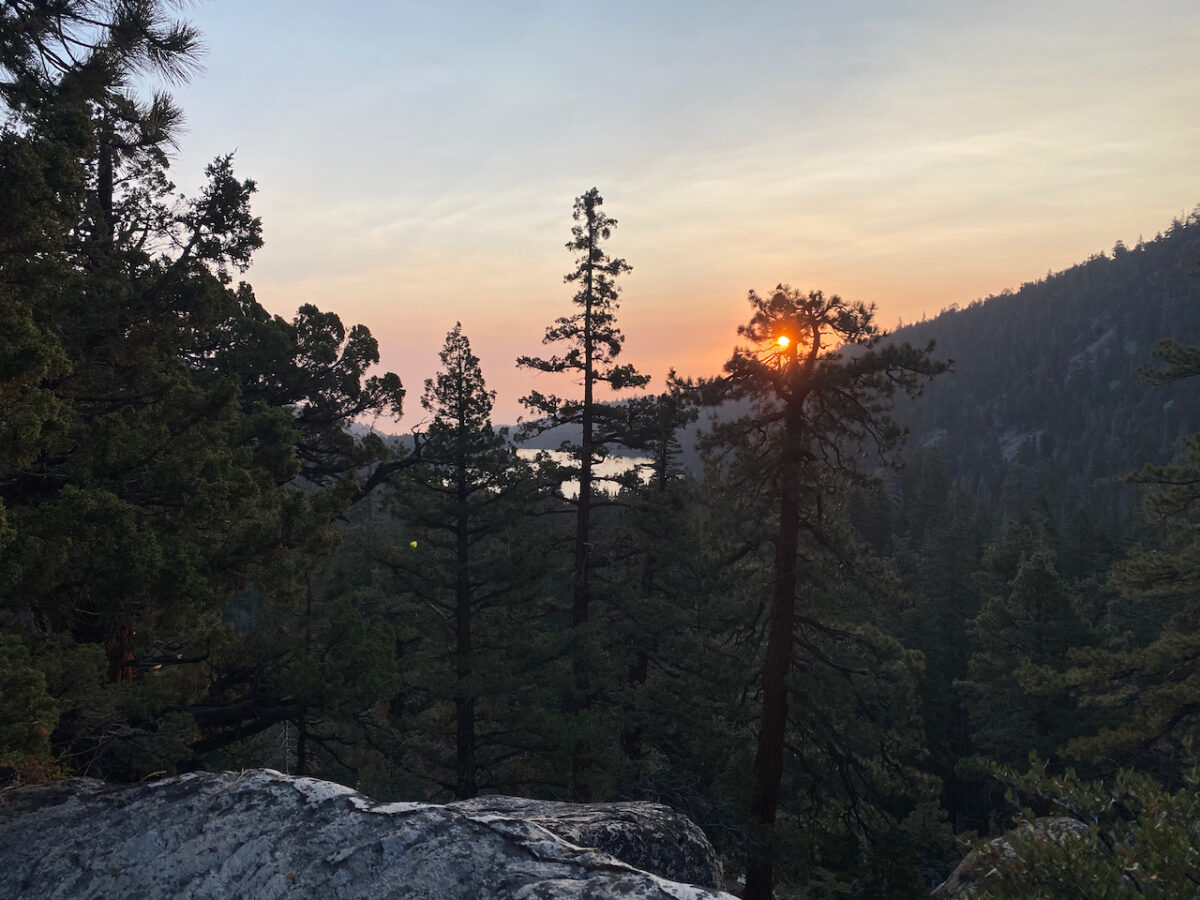
The trail starts out, unfortunately, by descending over 400 feet to Walker Lake below. But the views are nice!
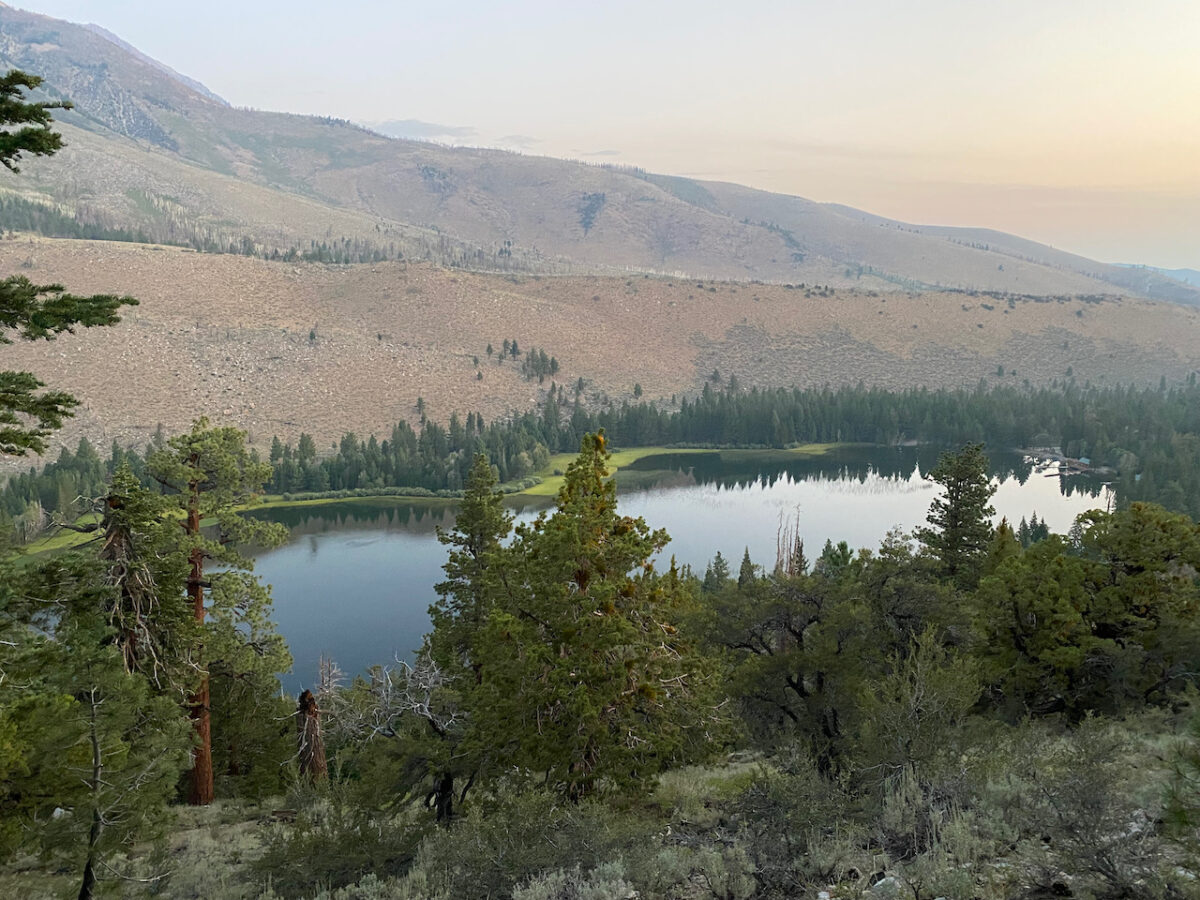
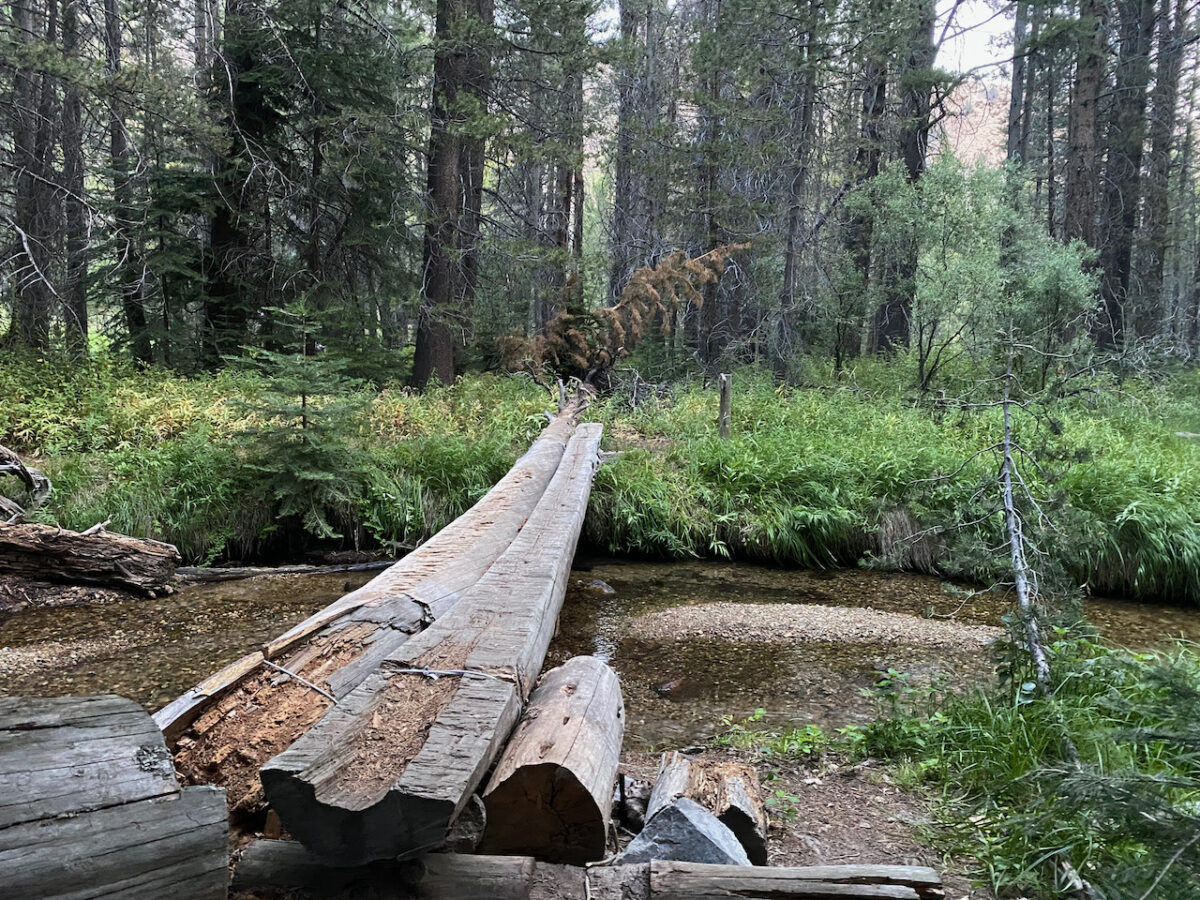
After descending almost to lake level, the trail goes along the lake for a while, then crosses Walker Creek via a bridge. This will be one of many crossings, and the only one with an actual bridge.
After crossing the creek, the trail meanders through the woods and starts gradually climbing. Then, just past the mile mark, near the wilderness boundary, it really starts climbing.
While the trail is pretty smooth down near the lake, once it gets into the wilderness area and really starts climbing, it is rough in spots, with loose rock and some overgrown areas. But it’s always easy to follow (at least, in daylight).
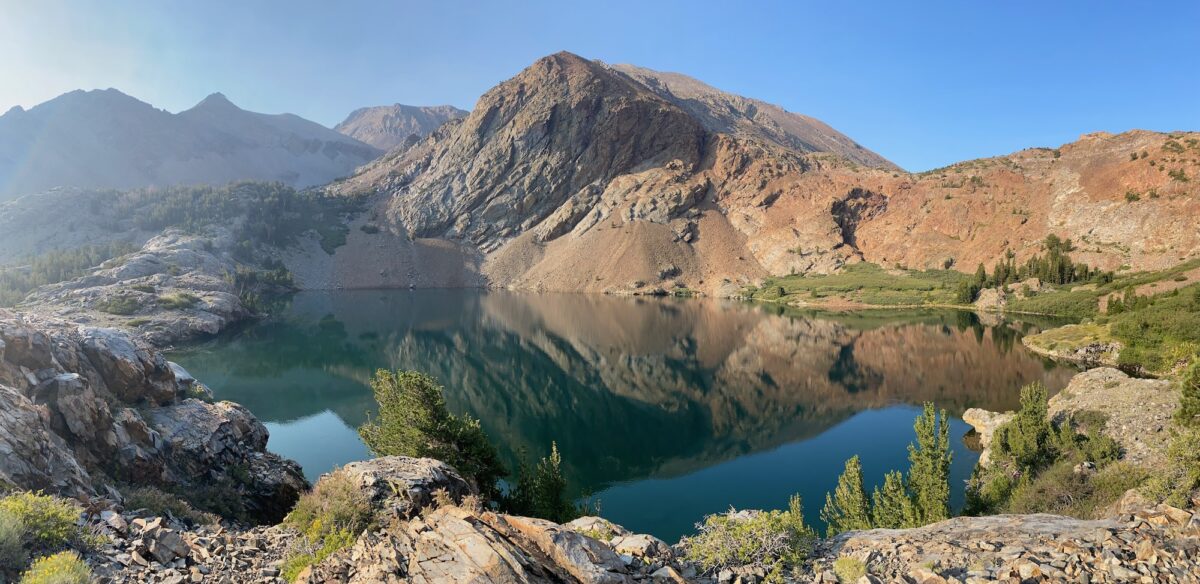
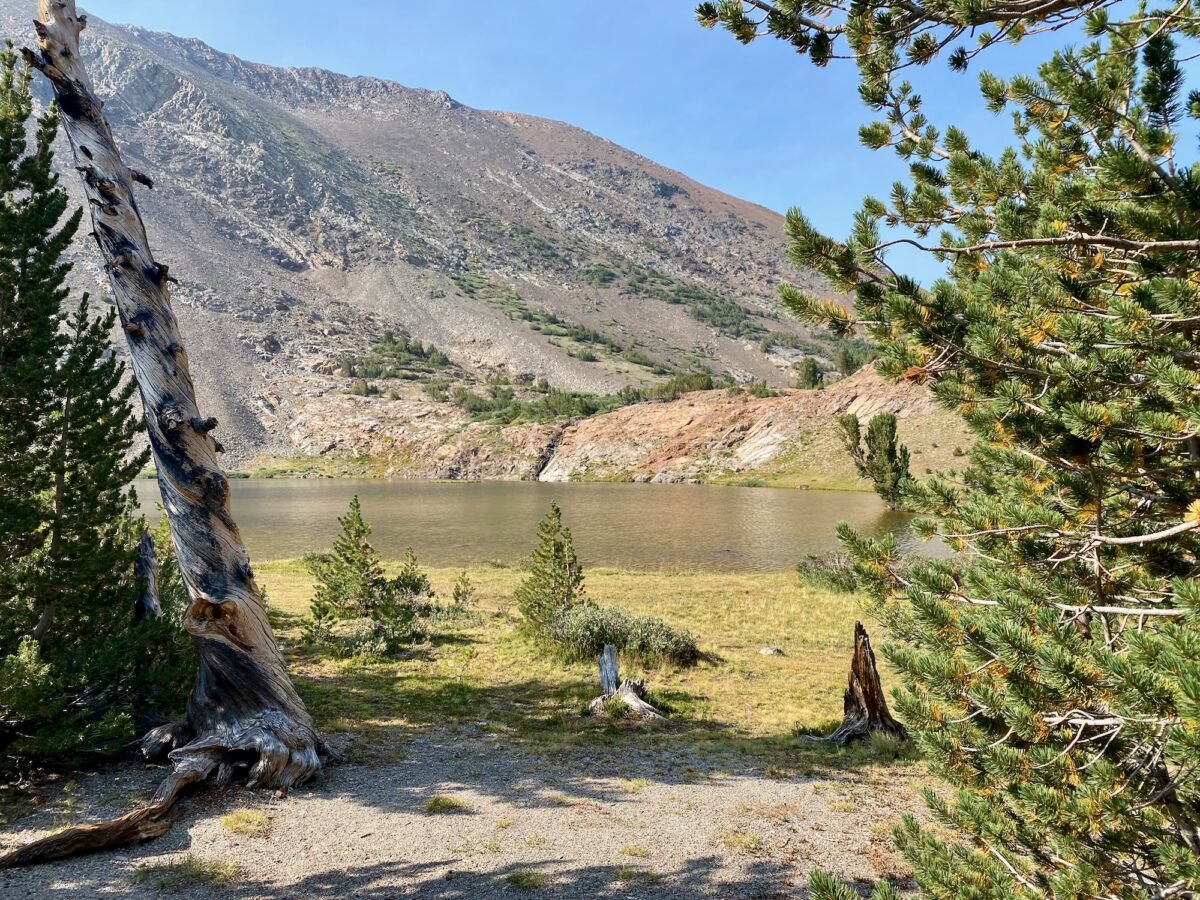
After a couple of hours of hiking the steep and sometimes loose trail, I arrived at Lower Sardine Lake. This actually would have been a great place to stop and camp, but I wanted to be as close as possible to the boundary with Yosemite National Park, in order to be closer to my intended summits. I planned on camping at Upper Sardine Lake, which is the smaller of the two Sardine Lakes. So I kept hiking, taking in the views of the lake and surrounding mountains.
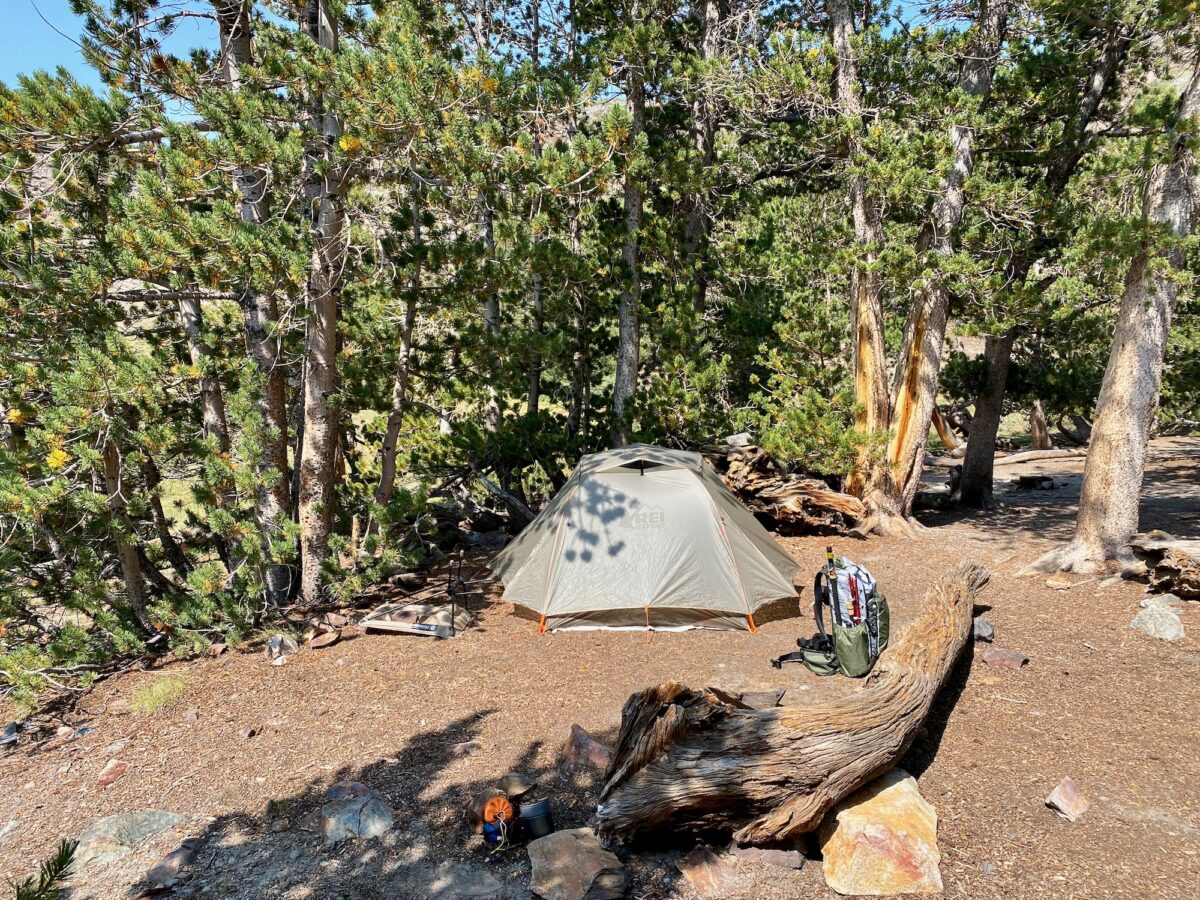
Above Lower Sardine Lake, the trail gets even steeper and looser. But manageably so. It wasn’t long before I arrived at Upper Sardine Lake at about 10,300ft. I got off trail and worked my way around the lake, looking for a good spot to camp. Within 30 minutes or so, I’d settled on a beautiful and secluded spot.
I got my tent set up and started getting ready to hike up to the Mono Pass area to see if I could summit Mount Gibbs.
I ended up hiking part way up Mount Gibbs, and abandoned that attempt. I just wasn’t adjusted to the elevation enough yet, and decided to return to camp for some rest. I figured after I’d gotten some good rest, I’d decide what to do in the morning.
I went to bed really early, not feeling great. I woke around 4am feeling wonderful. So I decided to go get Parker Peak. I would have also done Kuna Peak right near it, but I’d settled on doing the 1 peak, then heading back to camp to pack up and head home. I’d be happy with getting one first-activation summit for the trip. And I’d enjoy the hike a lot more, knowing I could take my time.
Hike to Parker Peak
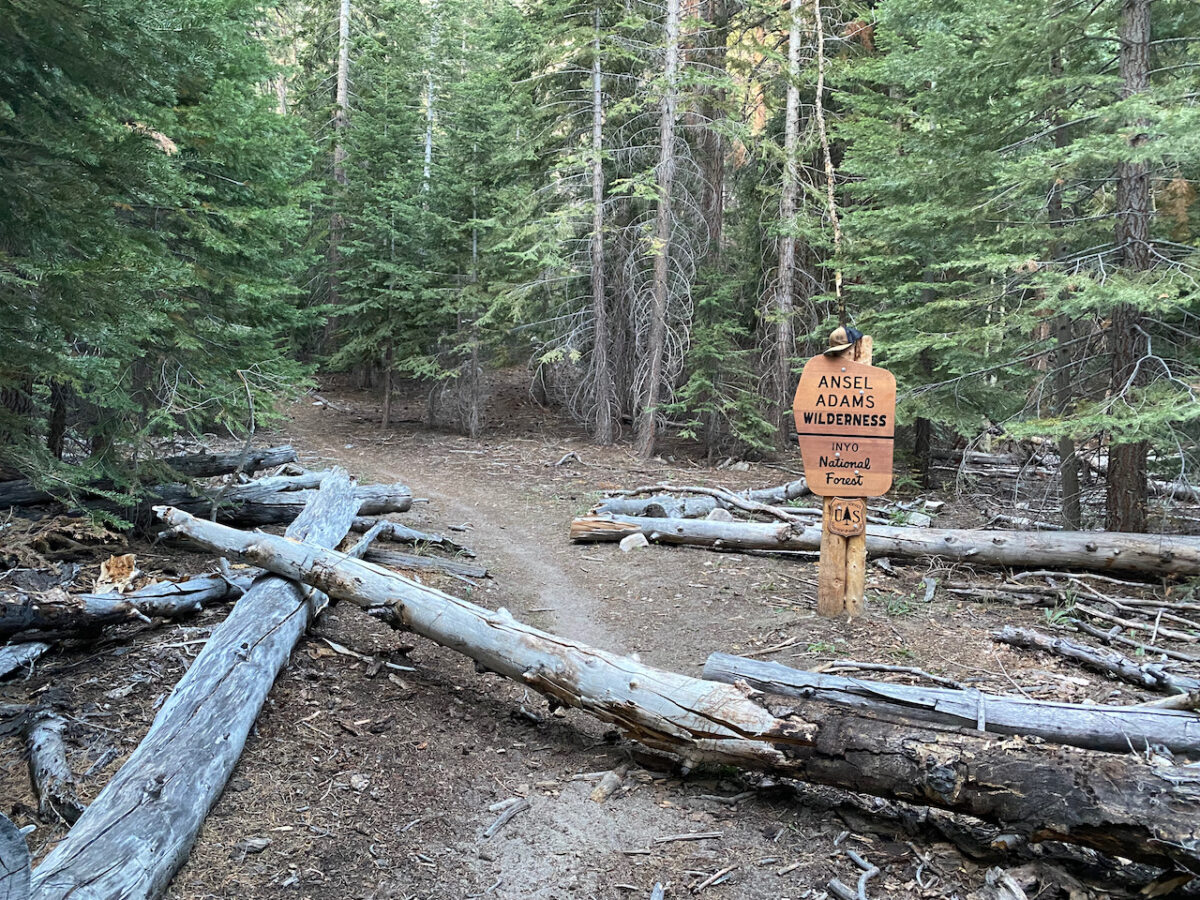
After a very light breakfast and some tea, I packed up my day bag with radio gear, lunch, some snacks, and a decent amount of water. I didn’t bring all the water I’d need for the trip, knowing there would be several sources on the route where I could fill up. I started my hike around 5:30am – just as the first pre-dawn light was starting to show the way. Just 5 or 10 minutes after leaving Upper Sardine Lake, there’s a sign designating entry into Yosemite.
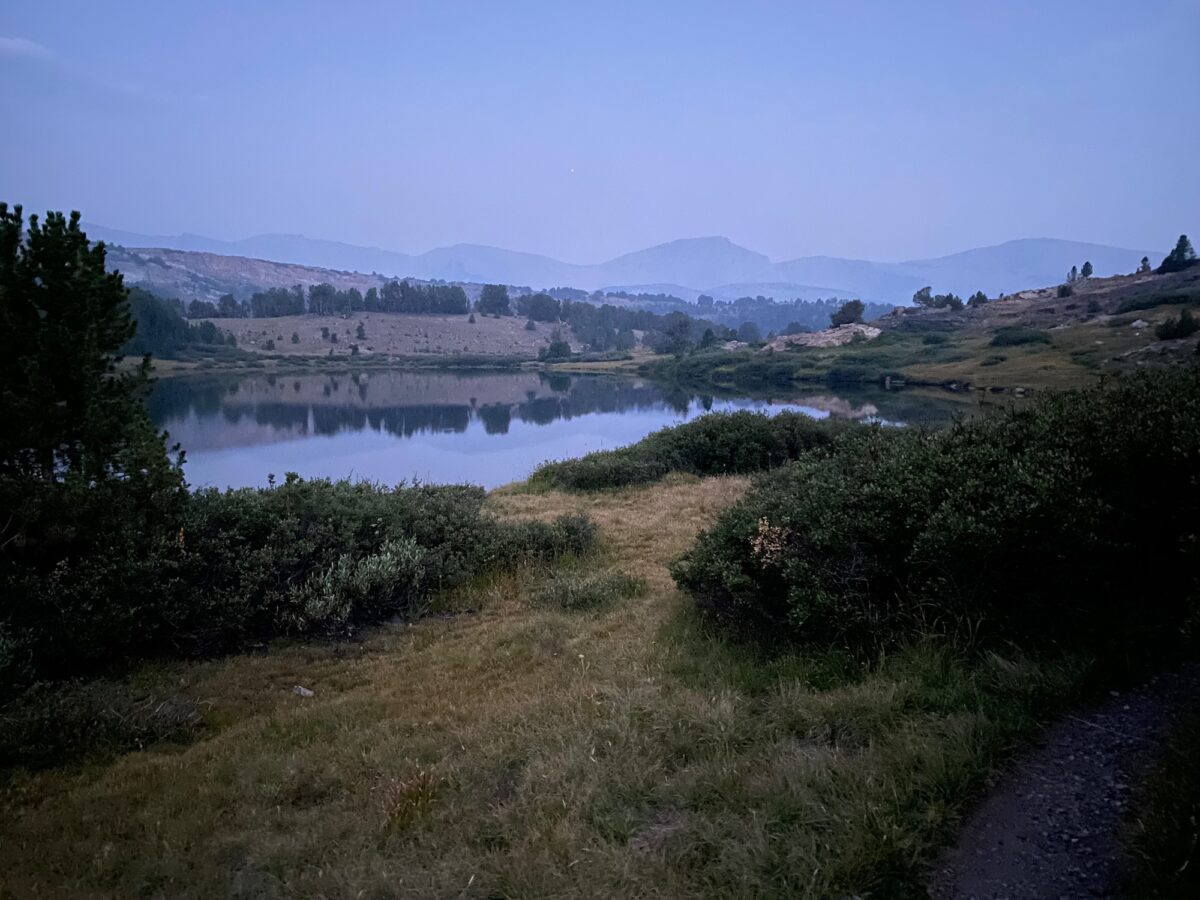
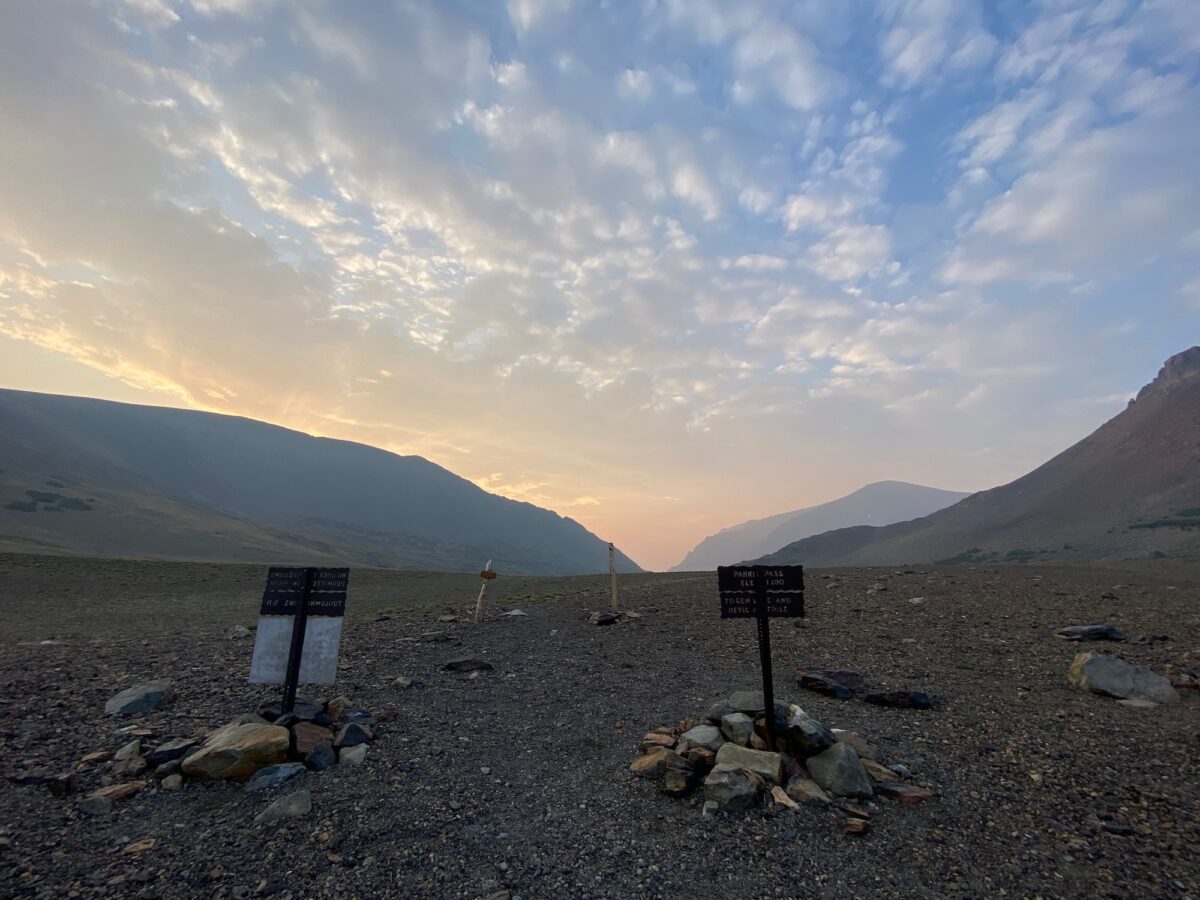
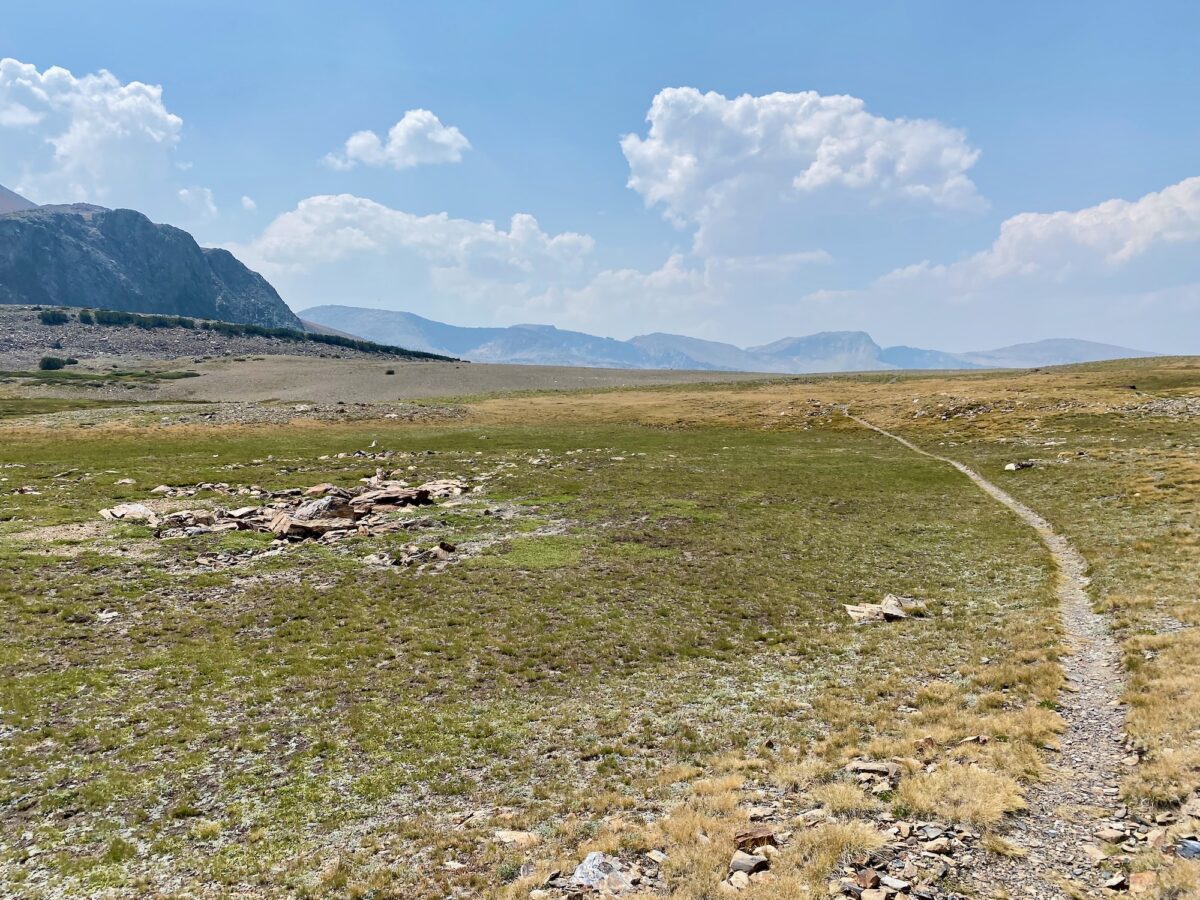
This part of the hike was pretty easy. In fact, most of the hike was pretty easy until the last bit. Taking a sharp left off of Mono Pass Trail onto an unnamed trail (signed “Parker Pass”), the sun still hadn’t fully risen, but the views were beautiful nonetheless. Less than an hour into the hike, I was approaching Parker Pass, with dramatic summits all around. There was some wildfire smoke in the air, but it wasn’t too bad.
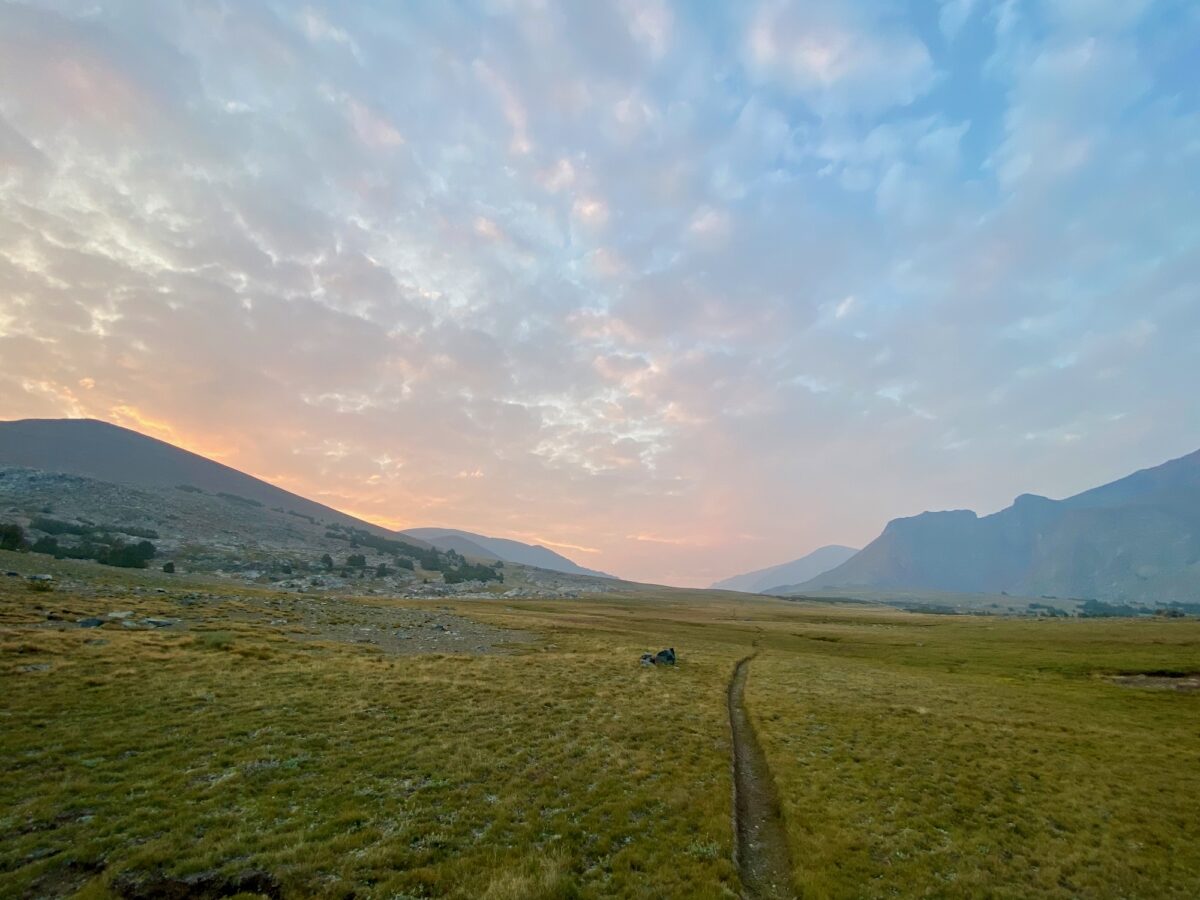
As previously mentioned, this part of the hike is pretty easy, so I was making good time while still enjoying the hike. A pleasantly fast rate, I suppose you might say. Just over an hour into the hike and I left Yosemite National Park at Parker Pass.
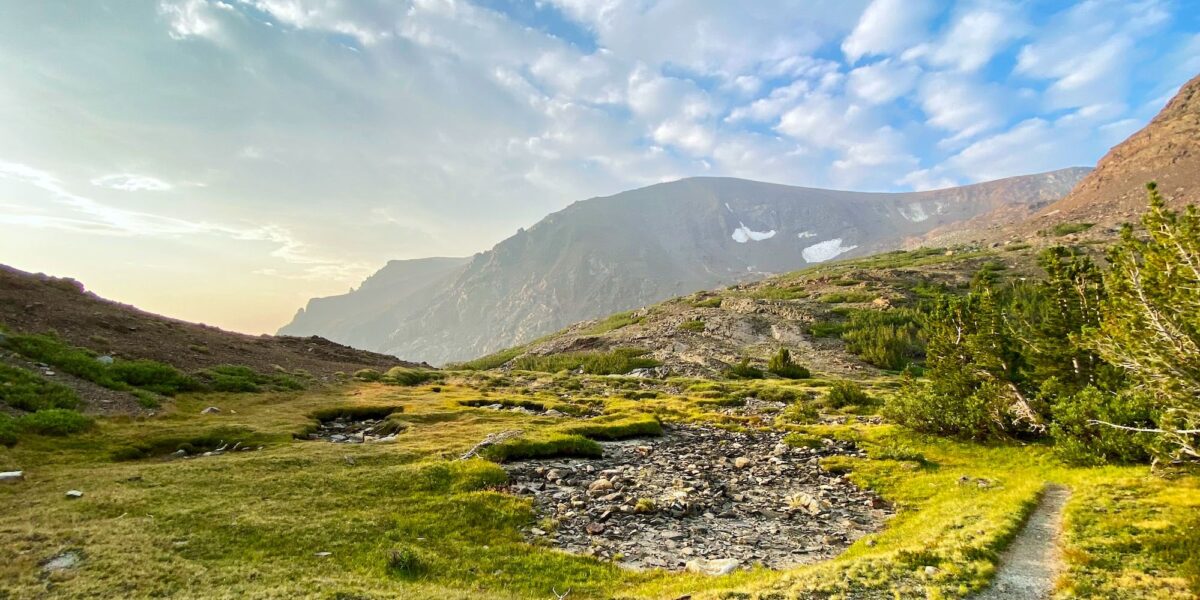
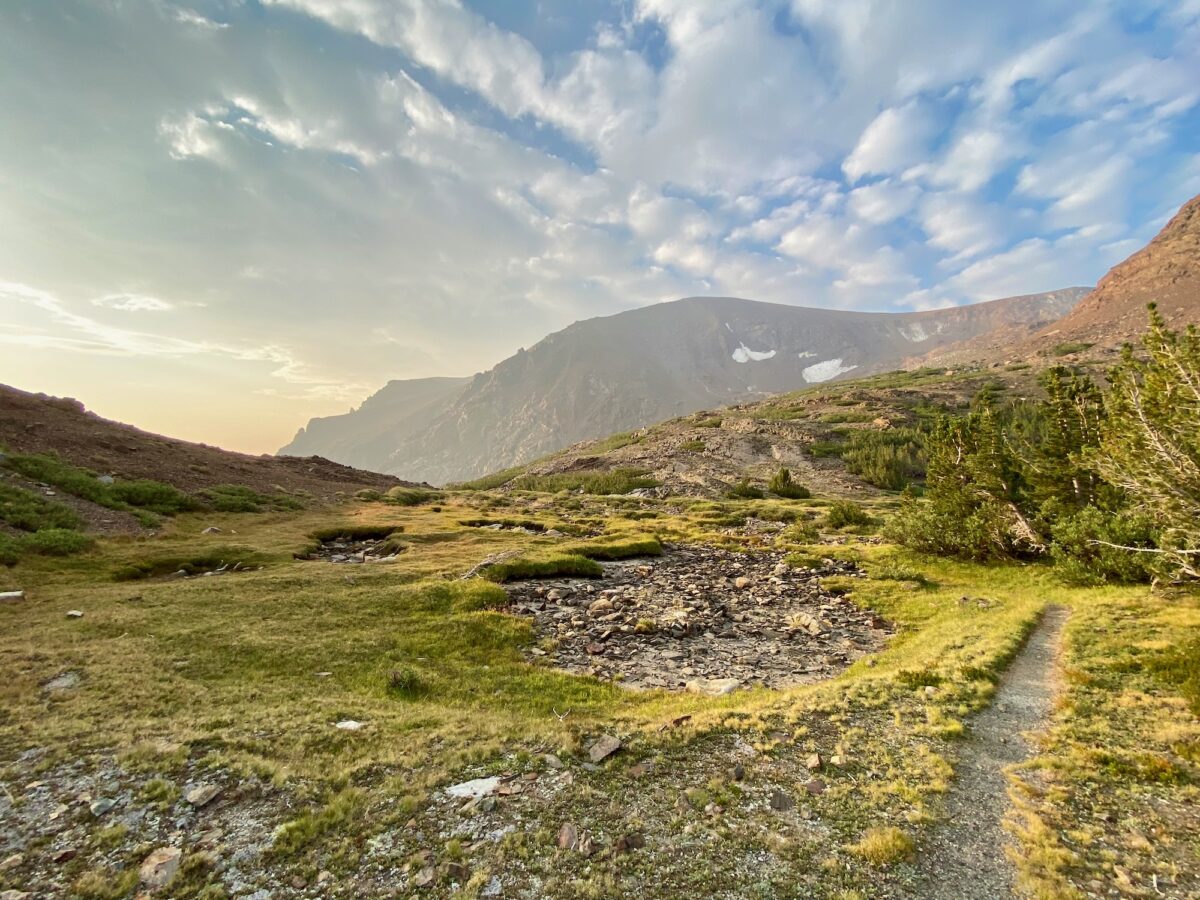
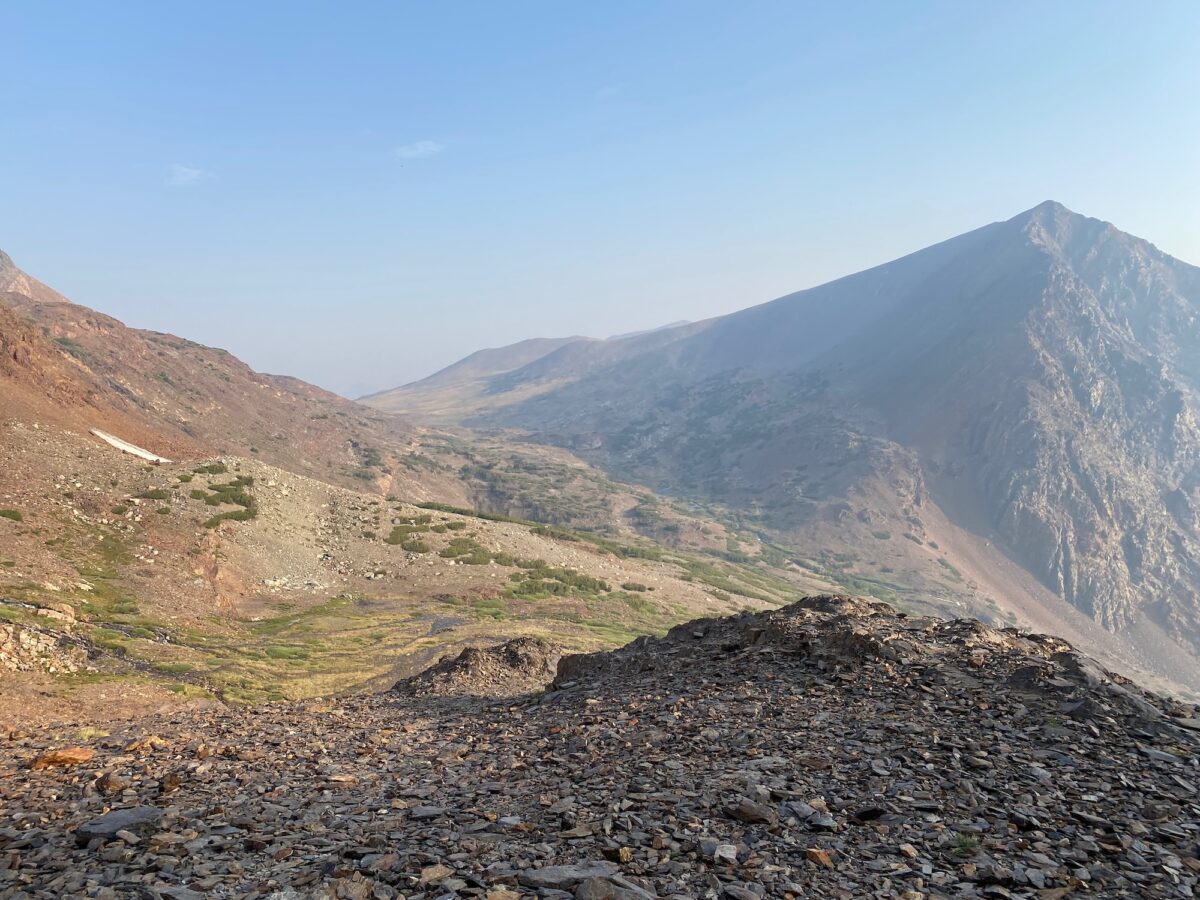
The hike started getting even more beautiful from this point on. The sun coming up, combined with the glacially-scoured landscape made for some pretty dramatic scenery. About 3.5 miles into the hike, there was a waterfall with lots of silt in it, leading down to a series of milky-gray lakes. Quite stunning.

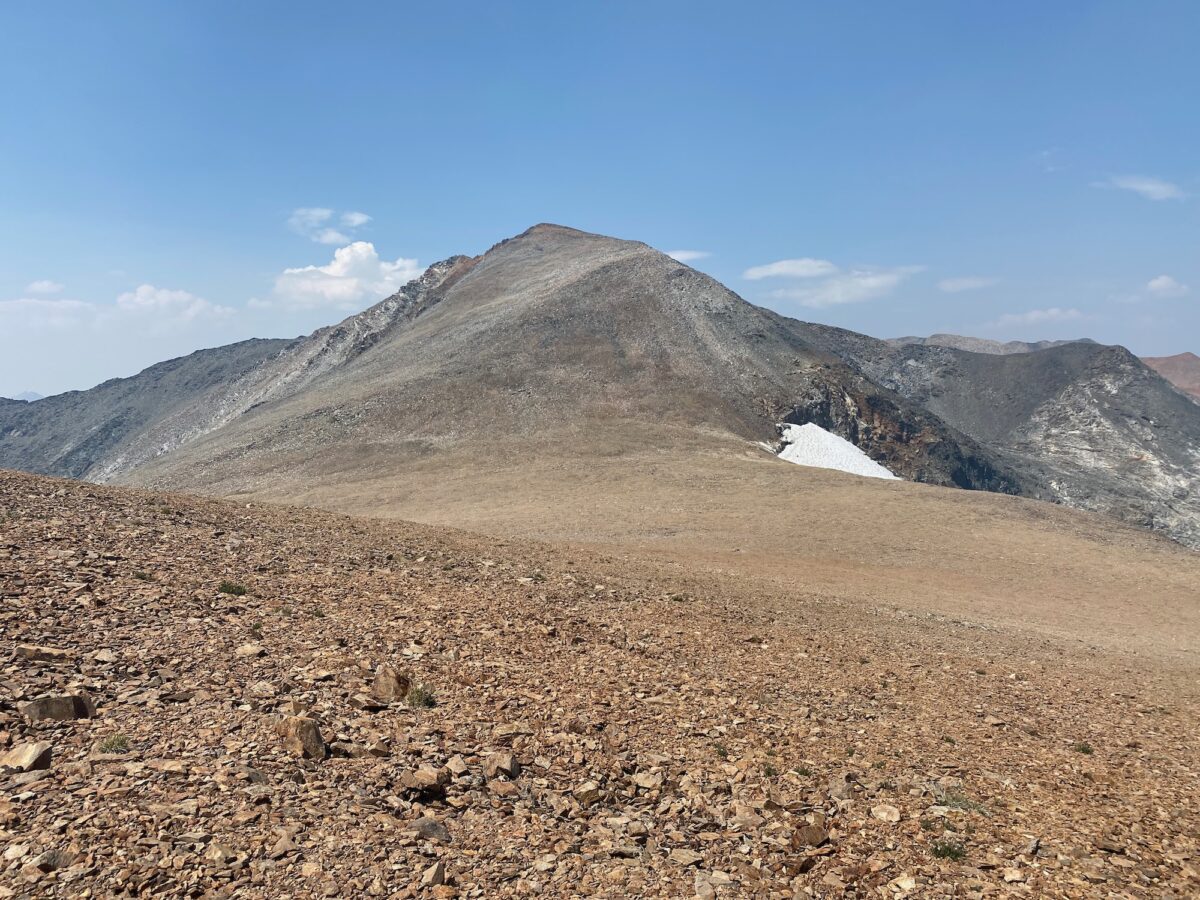
It was near here that I started getting my first really good views of Parker Peak. It looks steep from here, and that’s because it is.
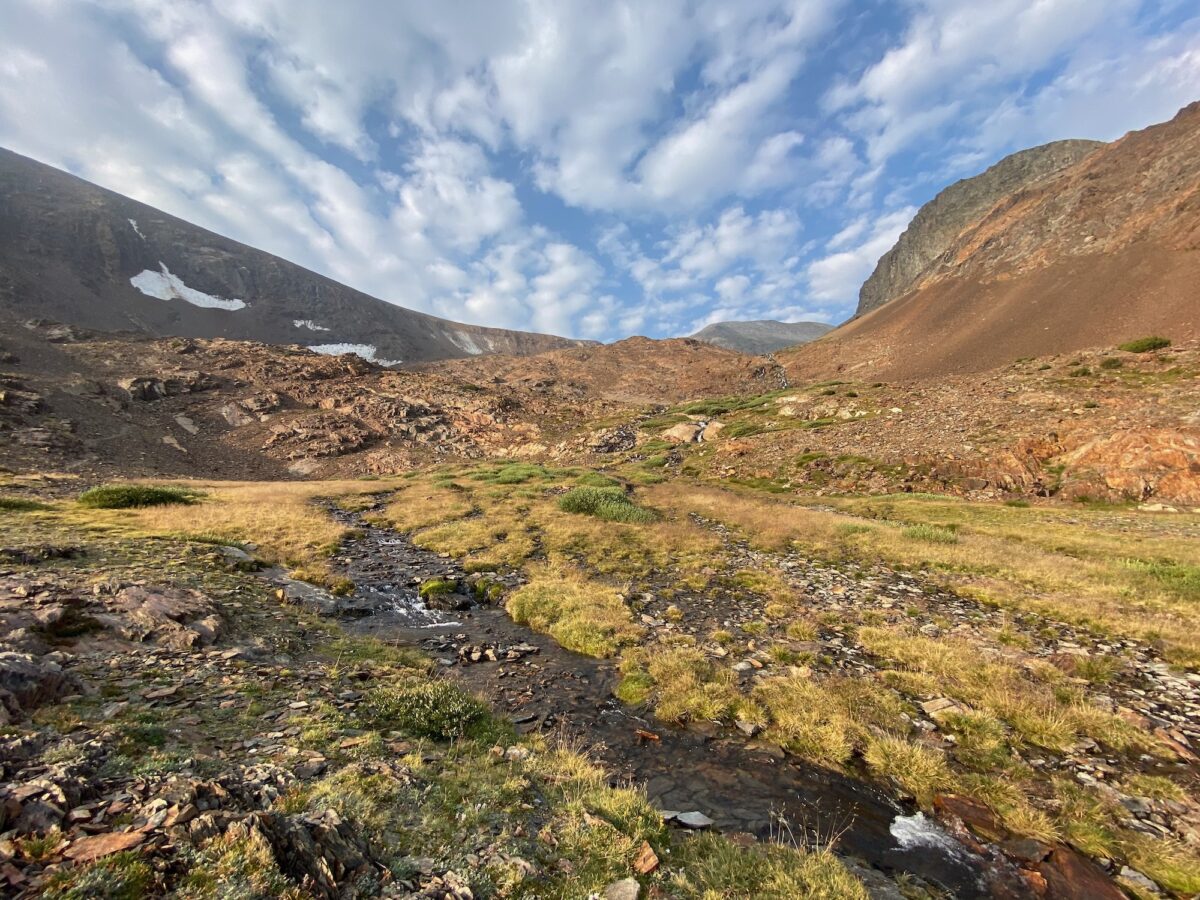
This is where the easy-going hiking ended. It was still fun, mind you! But there was some water to cross. This was an easy crossing when I was there (mid August), but I don’t think it would be easy when there’s heavier water flow. There wasn’t really an established path through the wet meadow, so I just tried to pick the best combination of low impact and dry-ish feet.
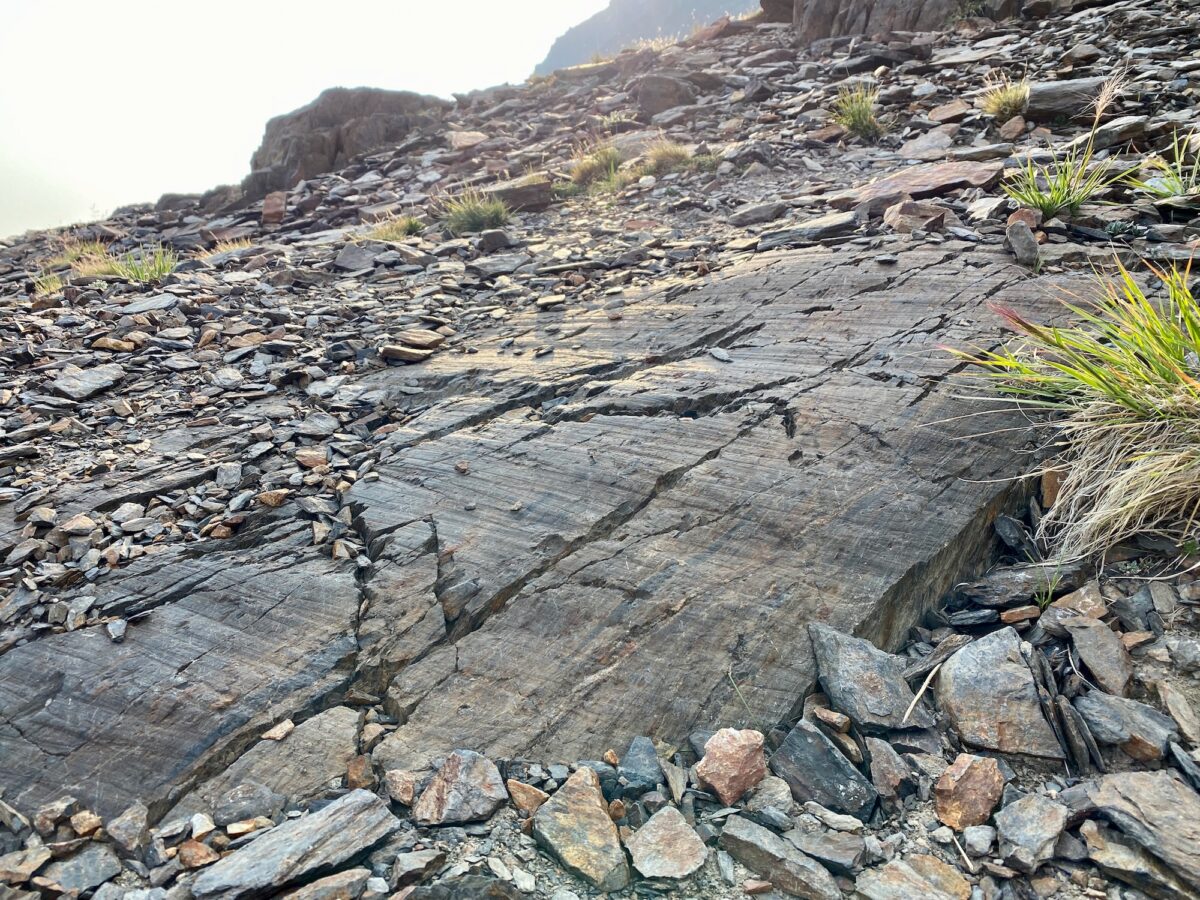
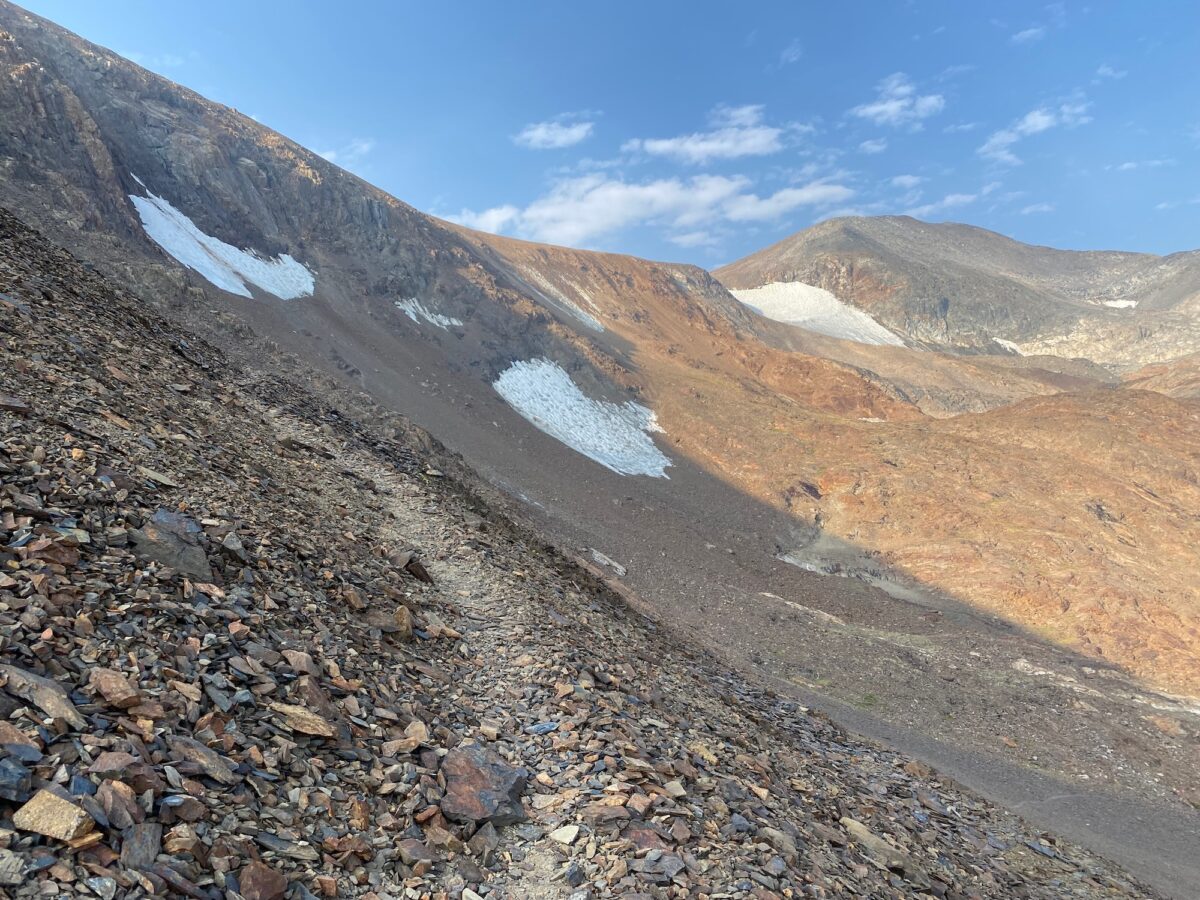
After this, the trail picks back up on the bare rock on the other side. It starts climbing in earnest, first going straight, then left to a series of switchbacks. Along the way, on some of the exposed bedrock, you can see what feels like very fresh evidence of glacial striations – glaciers scratching rocks as they move over them. In fact, with the nearby permanent snowfields under Parker and Kuna peaks, I wouldn’t be surprised if there had been glaciers here recently.
Going up steeply has its rewards. Looking back on where I’d just hiked, even though there’s some smoke in the air, the views were incredible.
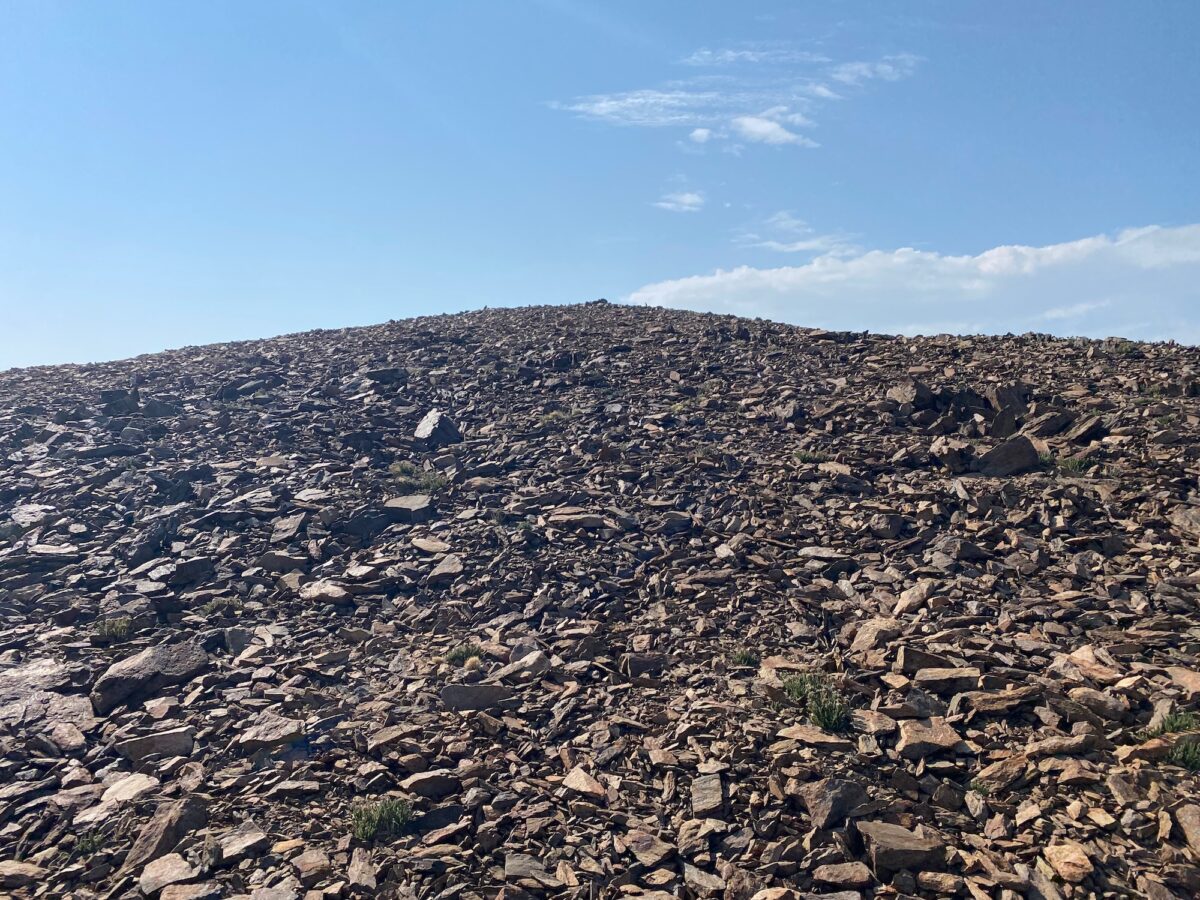
The switchbacks climb about 1200 feet. With each step you’re putting in some vertical gain to get you to this summit. It feels like (and kind of is) just a big pile of rocks. Besides being well above the tree line, this mountain made of talus just doesn’t seem like it could grow much.
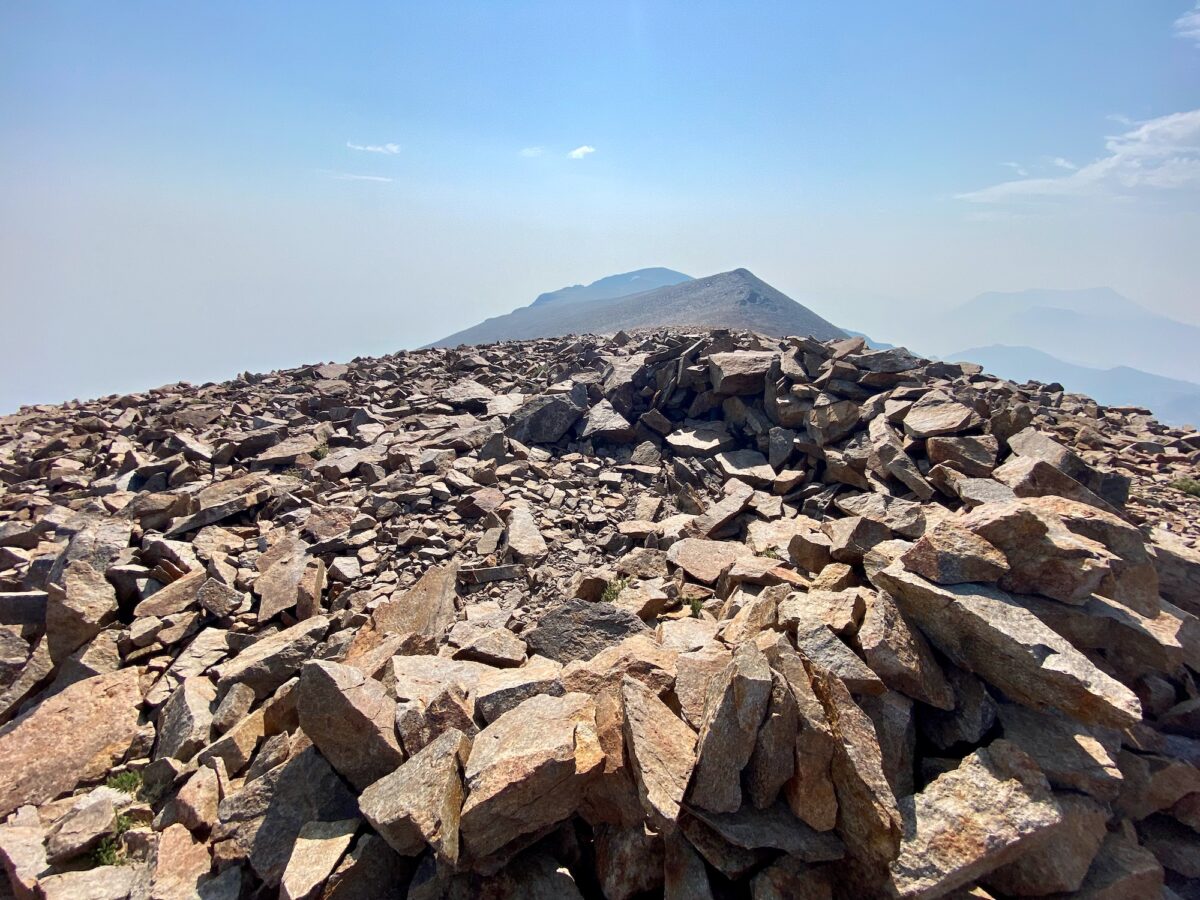
Once the trail completes the switchbacks, it traverses below the summit of Parker Peak, over to the pass between Parker and Kuna. About half way between the switchbacks and the pass, I turned off-trail to head straight up to the summit. It’s steep and it’s much slower going to pick one’s way through the talus, but I maintained steady progress up toward the summit.
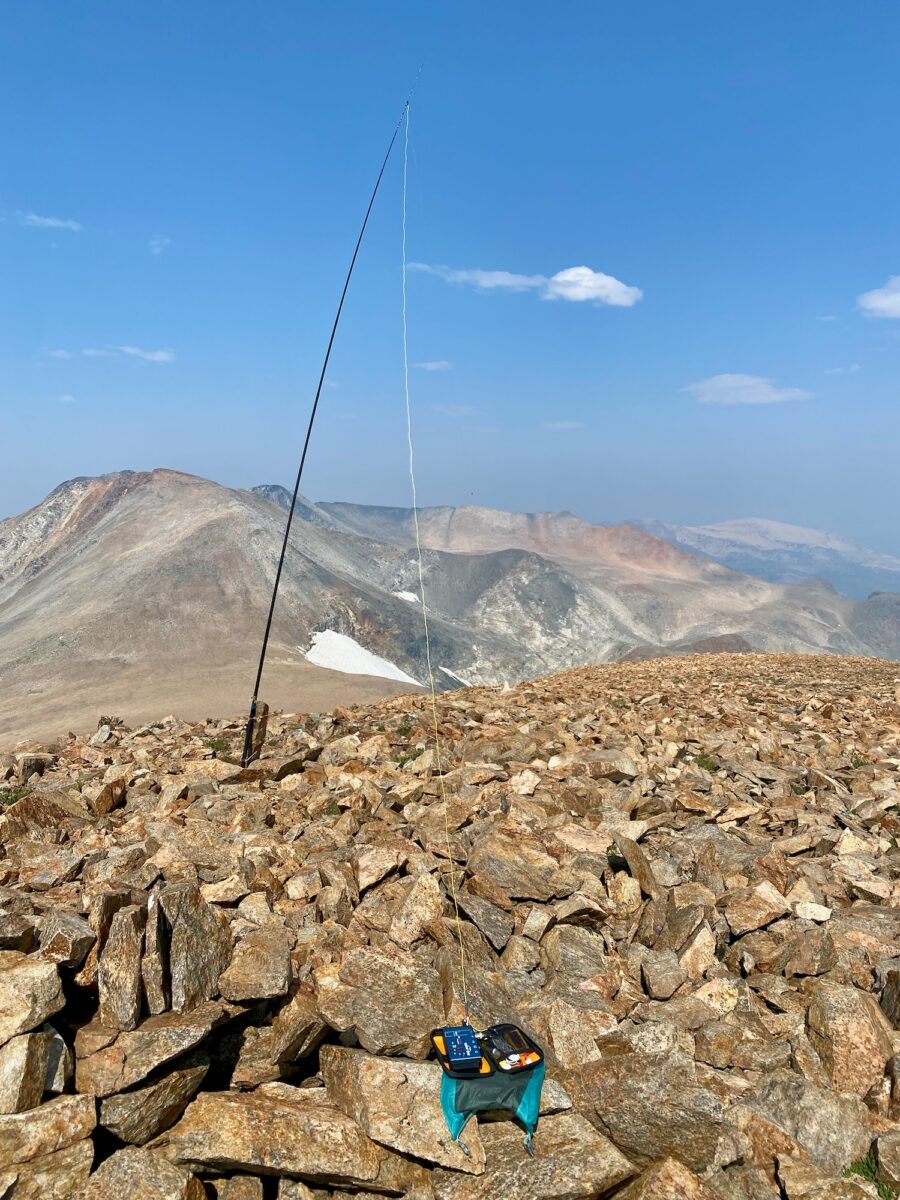
Reaching the summit, I took a very brief break before setting up to operate. There was a summit register in a little windbreak area. I signed that, too. The last person had signed it 10 days before. So I figured I’d be alone on the summit for a while. Unfortunately, with the wildfires raging all over California, I wasn’t really able to see down into Owens Valley.
Operation on Parker Peak
I first pulled out my dual-band beam (a home-brew one made by K6ARK) and made some contacts on VHF. Here, I was excited to talk with Brian, KG6DTZ who was headed up to get a first-activation of his own! I also got Adam, K6ARK with a summit-to-summit contact. His was also a first activation, of Picture Puzzle. After this, I took a break and popped up my K6ARK/WS0TA Tri-Band EFHW.
I made some contacts on 20 meters first – with F4WBN being first. His signal is always so good when I hear him, I often wonder if he really is transmitting from France. Nonetheless, into the log he goes! I made several other contacts on 20 meters, including a summit-to-summit with George, KX0R. He always does a great job of finding me for those S2S contacts!
Next up, 40 meters – even more contacts there! Including a summit-to-summit with Mike, KN6EZE on a summit in Southern California.
After I wrapped things up on 40 meters, I got back on VHF. My earlier contact, Brian, KG6DTZ, was now on his summit. We were able to get a summit-to-summit there, too! Then I packed up and started heading down.
On my way down, I heard Jamie N6JFD calling on VHF. I answered him and was happy to make that contact, even though it wasn’t S2S. But then I double-checked my elevation, and I had in fact *just* left the AZ. I asked Jamie to hold on a couple of minutes and I ran back up into the activation zone so we could make a summit-to-summit contact! This also makes it so he can get a “SOTA Complete” when he eventually climbs this peak.
Resuming my hike down, I stopped to talk with a couple of grumpy old men at the pass between Parker and Kuna. They were on their way to Mount Whitney – another 150+ miles for them! One of them laid on the ground, exhausted, while the other one tried talking me into hiking up Koip and Kuna peaks with him. He eventually understood that I wasn’t going to do it, and I had a nice, peaceful hike back to camp.
Activation Log
| Time | Callsign | Band | Mode | Notes |
| 16:32 | KG6DTZ | 2m | FM | |
| 16:43 | KN6EVQ | 2m | FM | |
| 16:46 | K6ARK | 2m | FM | S2S W6/SS-048 |
| 17:23 | KF9D | 20m | CW | |
| 17:23 | F4WBN | 20m | CW | |
| 17:25 | K6HPX | 20m | CW | |
| 17:25 | W0MNA | 20m | CW | |
| 17:26 | WA9STI | 20m | CW | |
| 17:27 | W0ERI | 20m | CW | |
| 17:29 | KX0R | 20m | CW | S2S W0C/SR-051 |
| 17:30 | N4LAG | 20m | CW | |
| 17:35 | W6DT | 40m | CW | |
| 17:36 | K6YK | 40m | CW | |
| 17:37 | W6TDX | 40m | CW | |
| 17:38 | NS7P | 40m | CW | |
| 17:40 | N1CLC | 40m | CW | |
| 17:41 | W1XT | 40m | CW | |
| 17:42 | NG6R | 40m | CW | |
| 17:43 | NW7E | 40m | CW | |
| 17:44 | WB6POT | 40m | CW | |
| 17:47 | KN6EZE | 40m | CW | S2S W6/SD-165 |
| 17:48 | KB7HH | 40m | CW | |
| 17:49 | W6JP | 40m | CW | |
| 17:51 | N6IZ | 40m | CW | |
| 17:52 | WW7D | 40m | CW | |
| 17:53 | K6CWC | 40m | CW | |
| 17:53 | K6LDQ | 40m | CW | |
| 17:54 | K6CPR | 40m | CW | |
| 17:56 | K7III | 40m | CW | |
| 17:56 | KJ6CA | 40m | CW | |
| 17:57 | WB7ULD | 40m | CW | |
| 17:58 | K6KMH | 40m | CW | |
| 17:59 | N6MKW | 40m | CW | |
| 18:01 | KG6DTZ | 2m | FM | S2S W6/NS-012 |
| 18:40 | N6JFD | 2m | FM | S2S W6/ND-387 |